
InSoFast Panel Review
| Install | Order | Quote |
We regularly receive project photos from our customers. In fact, our library of projects is continuously expanding! Recently, a customer using our UX 2.0 panels for his basement renovation took things to the next level. Robert Pyles created a 3-minute long YouTube video review touring the site of his installation. While the video is extremely informative and complete, we had to give Robert a call and pick his brain a bit further. Watch the video here and read the interview for more.
Do you have any kind of background in construction or building?
I have a pretty extensive background in construction and building. My father is a home improvement contractor, so I’ve inherited some of his handy skills. I also have a background in masonry, plumbing and electrical work. I can do drywall and flooring, too. It has saved me a lot of money knowing how to do these things. I guess you could say I’m an extreme DIY-er. If I don’t know how to do something, Youtube will teach me. With InSoFast, I feel safe saying that even someone with very little skill would have no trouble installing these panels. However, if you have to move any electrical or plumbing I strongly suggest calling the correct people to assist in those areas.

Were there any setbacks you encountered during the installation process?
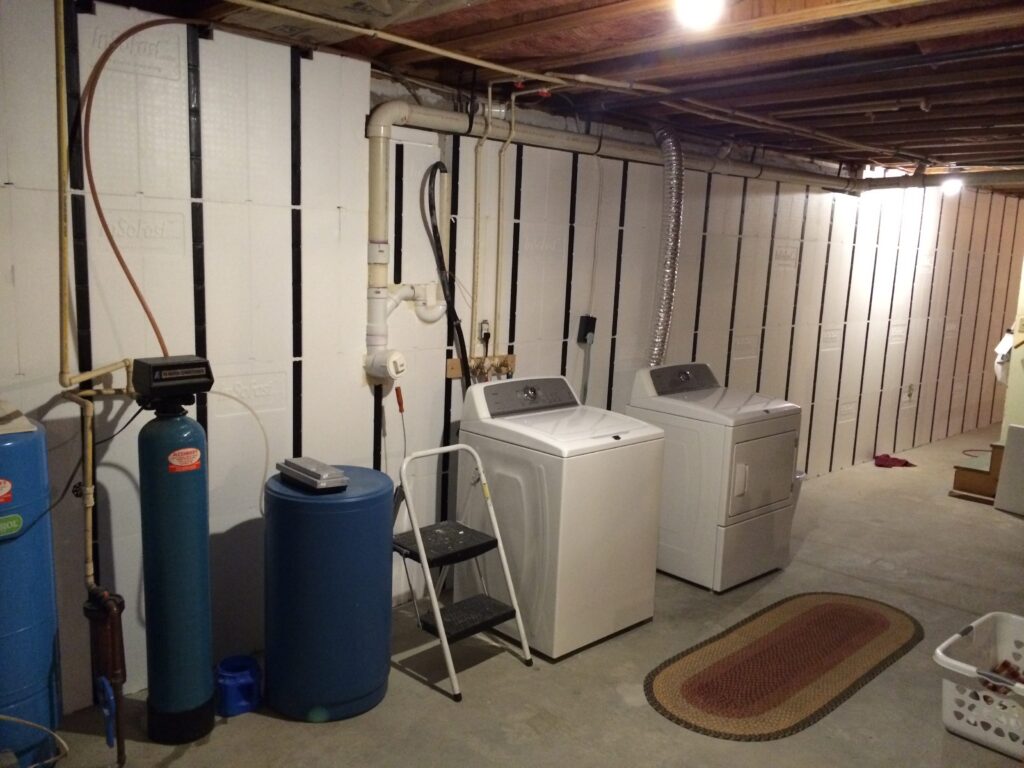
Other than working around the pipes there weren’t many setbacks. I did run out of adhesive. For my project which consisted of 52 boxes, I used 2 1/2 cases (30 large tubes) of 3X adhesive. Buy more than what you need and take back what you don’t use.
After installing the bulk of your panels you took it upon yourself to create a video review of InSoFast panels on Youtube. What a great resource for our customers! What inspired you to make this move? Is there anything you forgot to mention in the review?
There were a few reasons I did a video review. This was my very first video so that must say something. I think that many people are missing out on this product. I made the video so that others could see that people really love this product. I watched a lot of videos with the InSoFast logo attached and it seemed that these videos were just for show. I thought to myself, “It can’t be that simple”, or “It can’t be that fast”. I want people to see my video and ask me questions and to ask for advice.
Dean at InSoFast answered all of my questions and I’m positive he will be there to answer anyone’s questions. I want people to get inspired. I do wish that I would have made the video while I was installing to show people that, “Yes it is that simple and yes it is that fast“. You can transform your dusty basement into a great livable space. If you rounded up 3 or 4 friends that knew the basics you could have the drywall up, sanded and ready for paint in two weekends. I did 90% of my basement myself. Just think what I could have got done by gathering a few friends together.
Do you have any other tips for future InSoFolk?
If you are going to install this product you made the right choice. That being said I would hate to see the investment crumble from lack of preparation. I strongly feel that preparation is key. If you have block walls, make sure you don’t have any moisture issues. I’ve always been one to do it once and to do it right. If you have moisture problems fix them first. You can use Dry-Lok on your block walls to keep slight moisture out. For concrete walls the same applies. Fix any cracks or water issues first. Make sure you clean the areas well with a shop vac and fire brush.

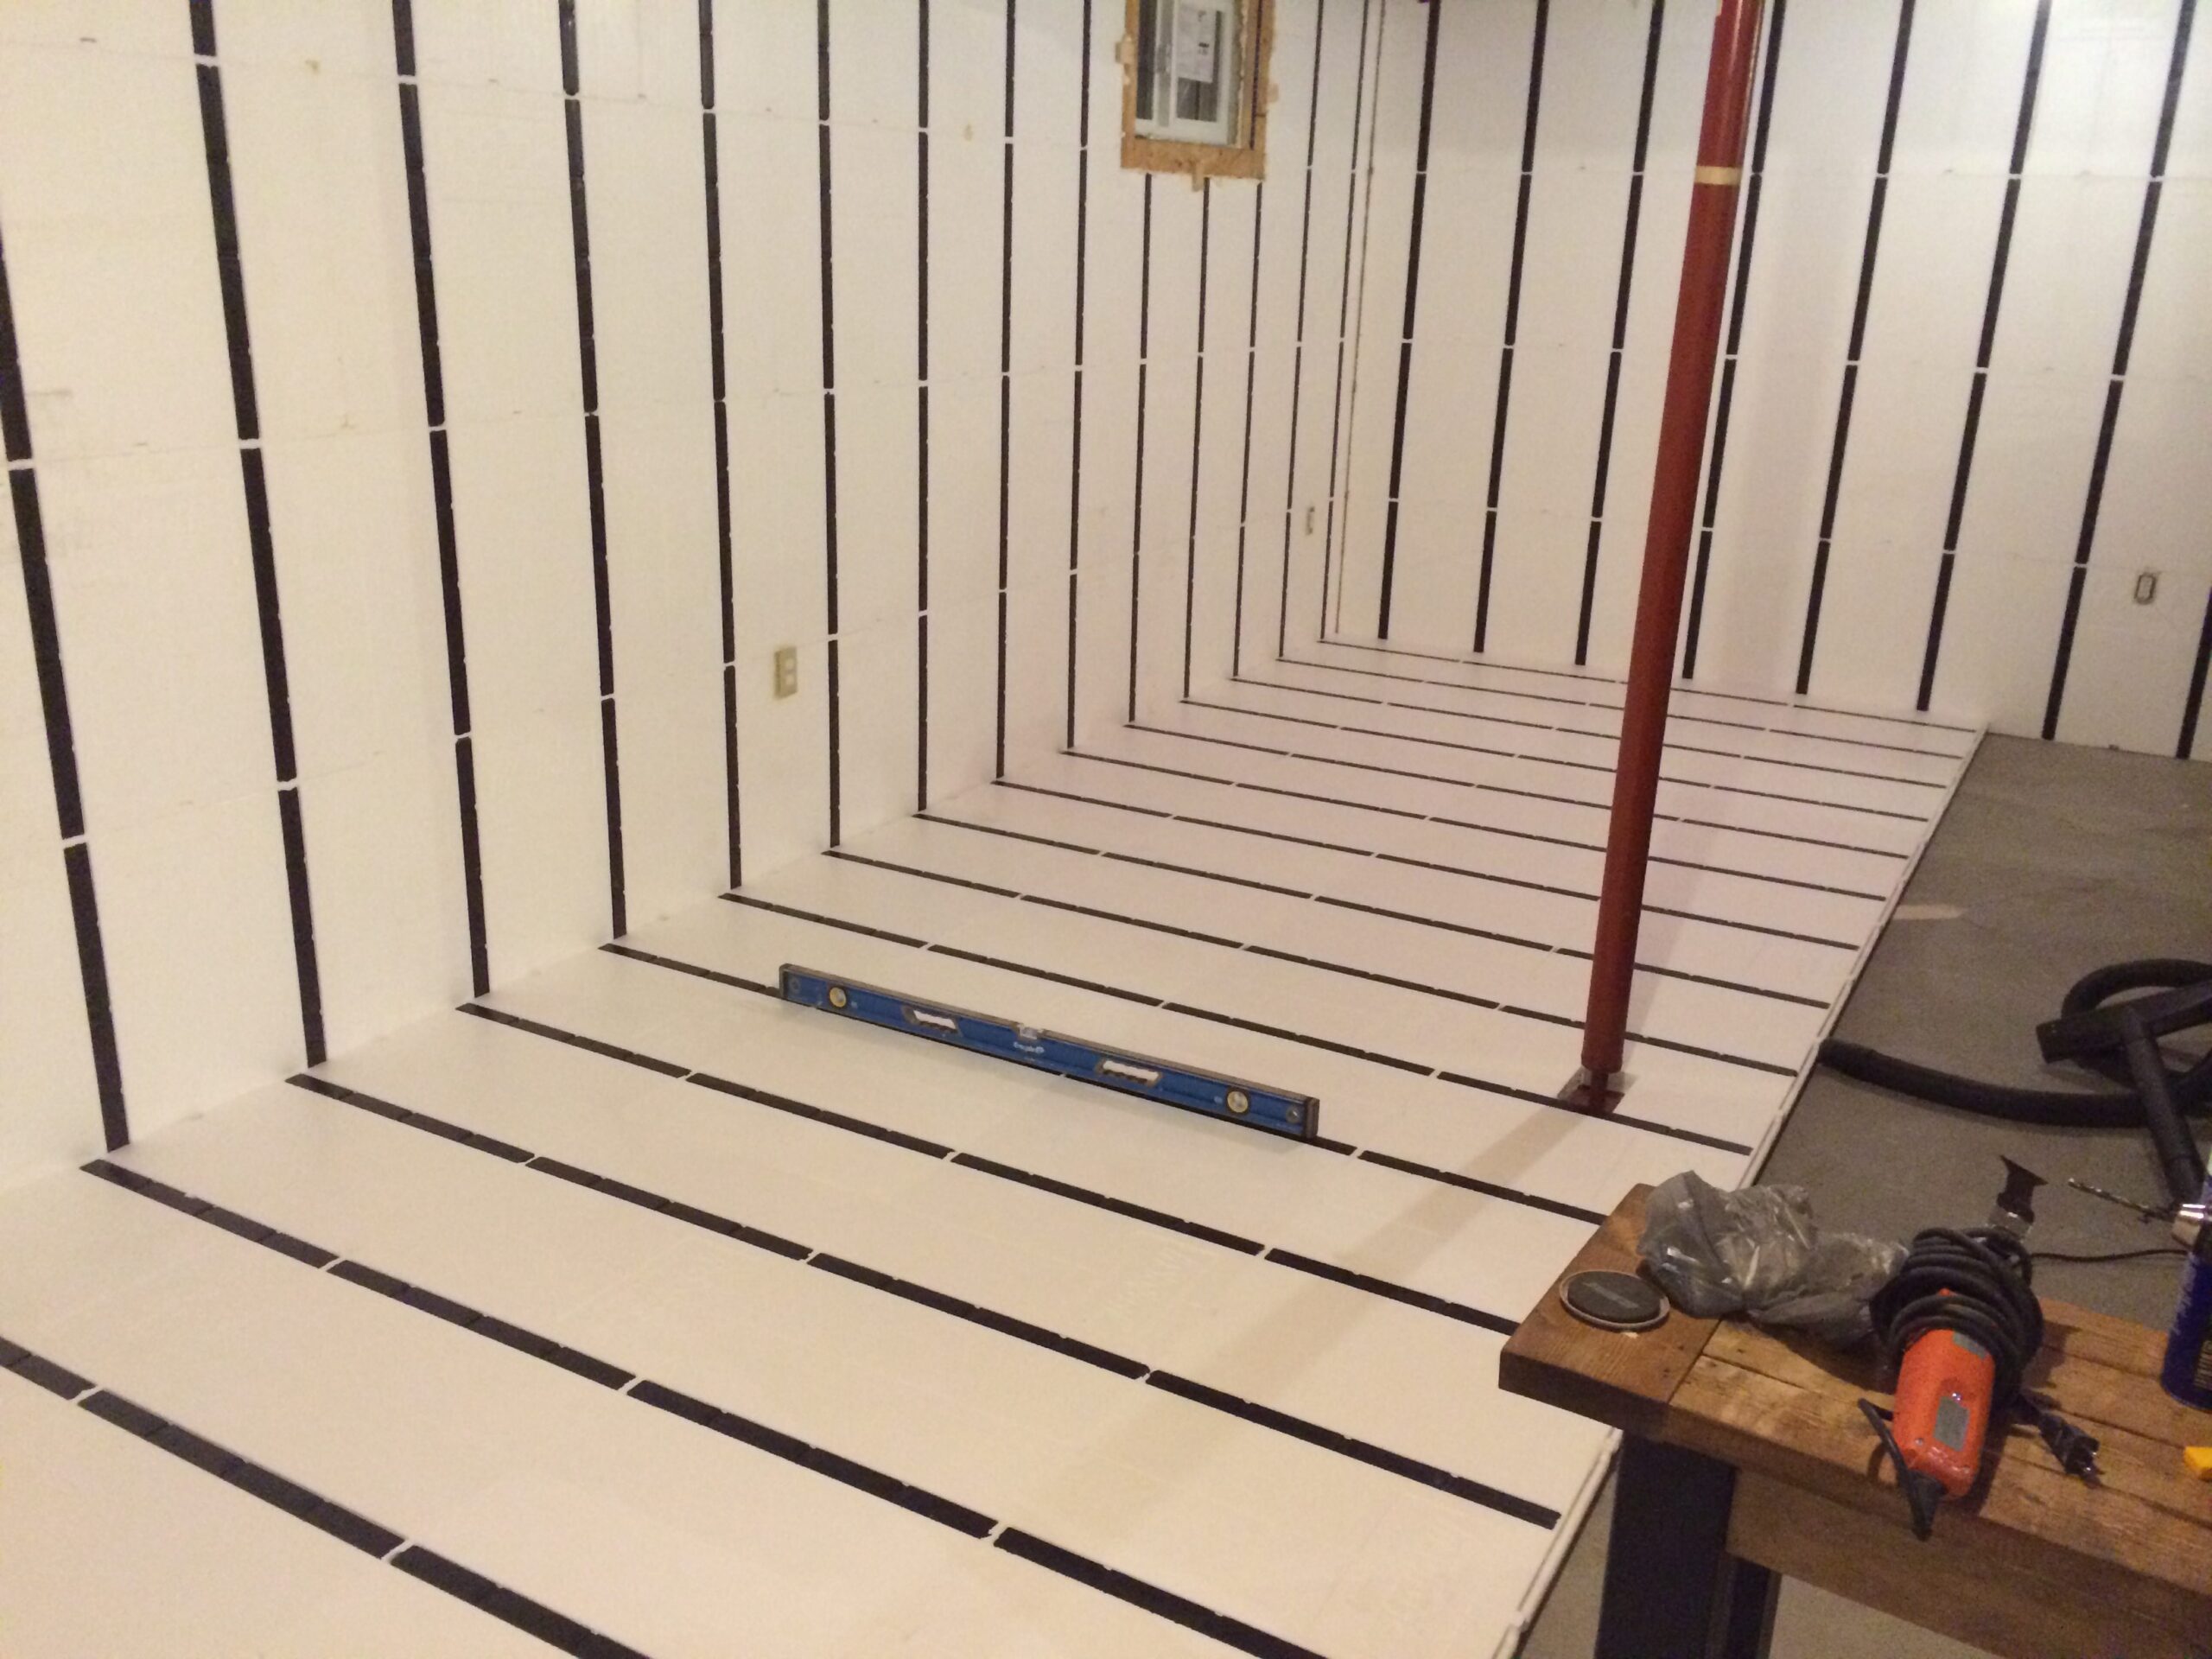
You also need to check to make sure your walls are plumb. If need be you can use a grinder with a diamond wheel to fix small areas where the wall is not plumb. Also keep in mind that stud walls are never perfectly plumb either, just make sure it’s not too bad. Sometimes I can get pretty picky on these things. I had to cut the backs out on a few panels to make them plumb. The most important thing is to make your first course level and after that everything else will be level too. Did I mention surface preparation? Make sure all of your walls are clean. I did a glue test by gluing a scrap InSoFast stud to the wall and let it set for a week. The results: Let’s just say I’m glad I had my hammer drill. It took 10 minutes with the drill and a grinder to get it all off, in pieces.
As far as tools I would suggest: a level, laser level, a table to stack your panels, heavy duty Exacto knife with extra blades, tape measure, shims, screw driver, hammer, jig saw with a long blade to cut around floor joists and pipes, framing square, straight edge and a shop vac. There aren’t many special tools needed. Maybe a miter box if you want to pad out the windows as well as a hammer drill to drill holes if you decide to use Tapcon screws. If you run into any problems the team at InSoFast is very helpful and can answer any questions. Also you can check out my Youtube video and comment. I will write you back! Good luck with your project- you will be glad you chose InSoFast.

