
It is not Rocket Science it’s InSoFast

Back in 2014 we discussed the debt free sustainable lifestyle associated with The Tiny House Movement and Shipping Container Architecture. Throughout the past several years the movement seems to have moved along even further. HGTV has released several “Tiny House” shows and our Container Home customer base has grown from tiny to not so tiny.
Considering InSoFast saves space, time and energy it’s no wonder Tiny Houser’s have come to our product as a viable solution. And we’ve been listening. Last year we published a Shipping Container Discussion video for one interested customer. The video developed much interest from a larger shipping container community on YouTube, along with an ongoing rush of fury and vitriol from certain online commentators in regards to our lack of editing, LOL. More importantly, in recent months we’ve developed a new product designed specifically for Shipping Containers.
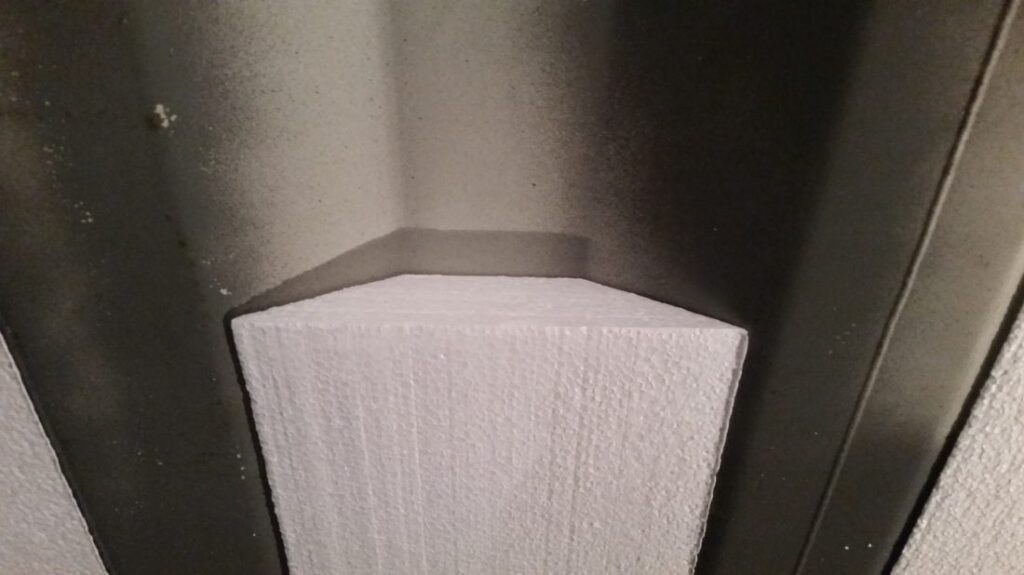
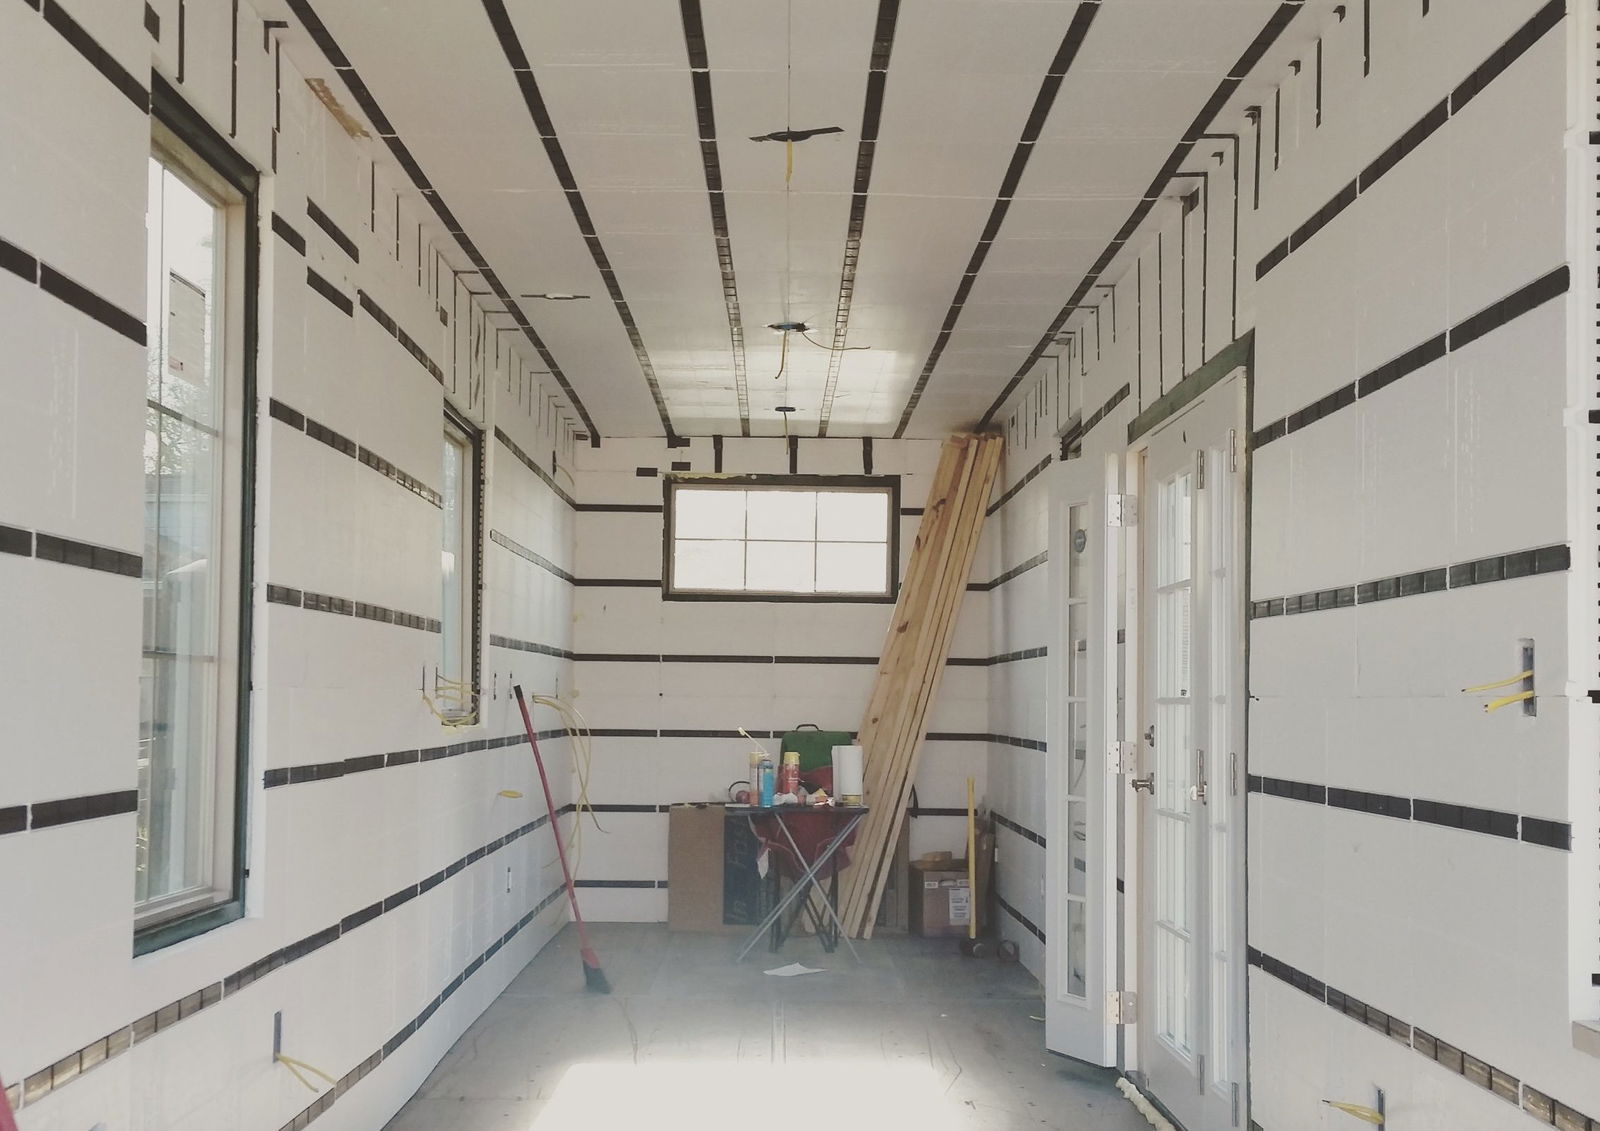
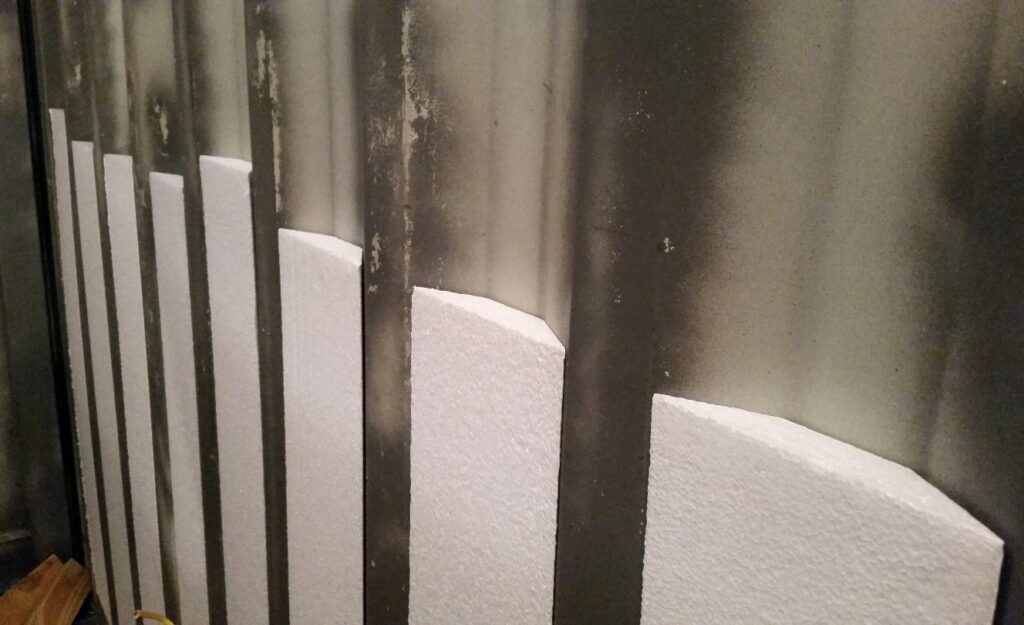
InSoFast Container InSerts are designed to fill the corrugated depths of a shipping container. Once these corrugation inserts are glued in place, you can proceed with adhering the panels vertically across the length of your container walls and ceilings. The inserts close up the container’s corrugation air gaps and create a continuous barrier of insulation in conjunction with the panels. It’s a simple product designed specifically for InSoFast-ers working with Shipping Containers.
Our first customer to use the inserts recently finished her project. Ashley is a Houston-based NASA engineer who had a mission to build her own tiny home and live debt free. She got in touch with us last year about using InSoFast for insulation. Ashley needed an insulation that would outperform in the Texas heat and save space in her narrow 8 ft wide container. InSoFast’s Do-It-Yourself simplicity sealed the deal. We shipped Ashley a custom order of our inserts to try out in certain parts of her container.
Ashley’s well documented project serves as the perfect blueprint for any InSoFast-er curious about insulating with InSoFast in a container. We were lucky enough to chat with Ashley about the evolution of the project and her experiences using InSoFast panels and inserts as shipping container insulation.
For the past couple months you’ve been building your own home inside a 40 foot long shipping container. What compelled you to opt for small scale living?
Back in Seattle I lived on a sailboat for six months in between internships. I really had to downsize and it felt so liberating to not have a lot of stuff.
I wasn’t buying things to just put into my house and fill it up. The space was so limited that I could only have the bare necessities. I had to evaluate what was important.
I fell in love with this lifestyle and started looking into the Tiny House Movement. This was back in 2010 which was at the infancy of the movement. When I came down to Houston and started my career I felt like it was the perfect time to make it happen and build a tiny house.
Why did you decide to use a shipping container for your tiny house?
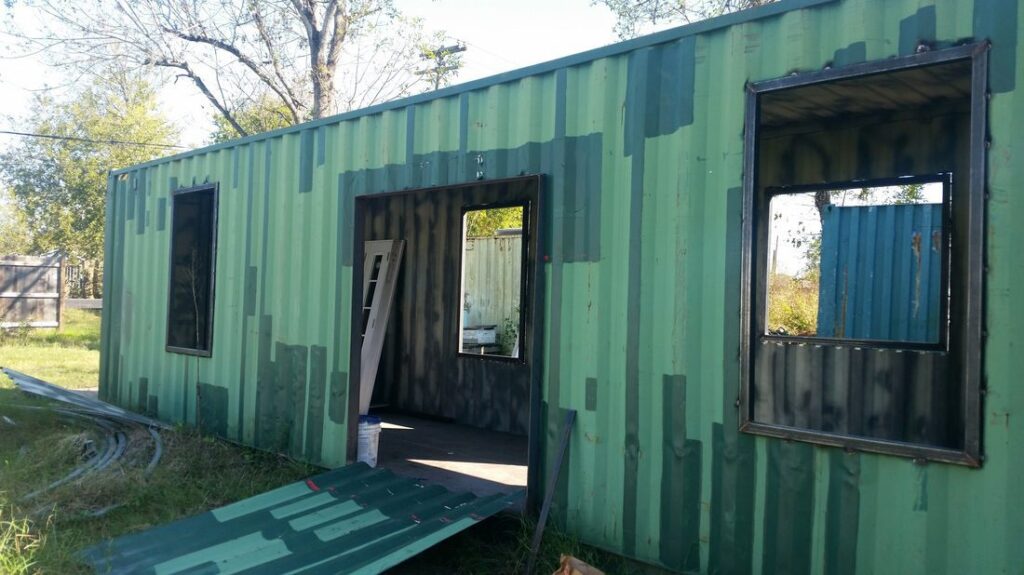
At first I was actually looking to build a tiny house on wheels. I have a friend who has several shipping containers and he had already started modifying one into a bunker. That’s where I got the idea to use a shipping container for my house rather than building one on wheels.
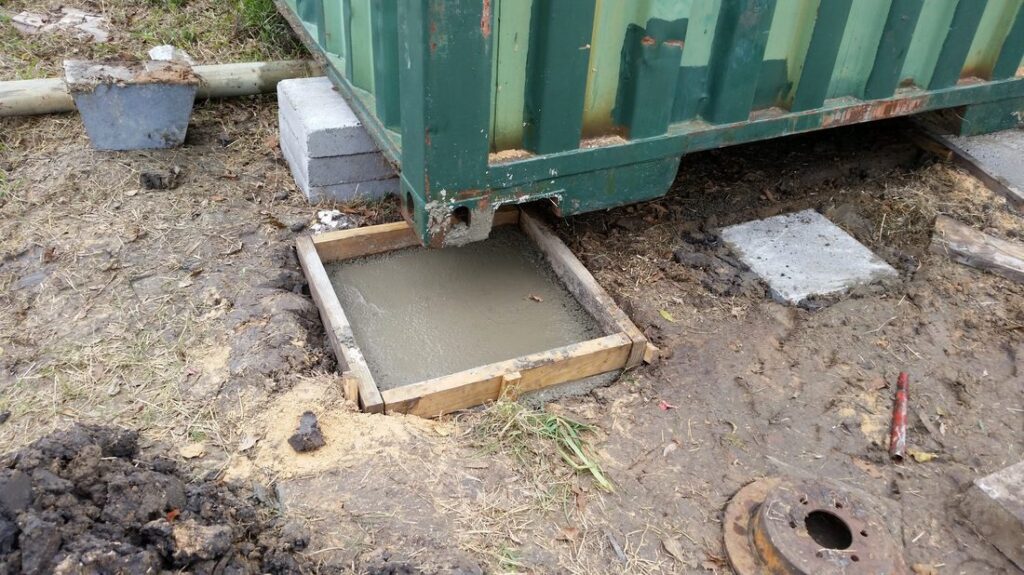
The opportunity was kind of perfect because this friend already had a couple of shipping containers and he was willing to sell me one. He had all of the tools I would need to build it myself, so it ended up being a collaborative project between the two of us.
We had a lot of ideas about what we could accomplish with his little plot of land and a big part of that was building both of our shipping container houses together. We built my house first and we’re actually building his right now. At this point his house is kind of finished on the inside but there is still much more work to do.
Are container homes a growing trend in Houston and Seattle?
The tiny house movement is definitely a growing trend. There are different meetup groups and venues where people get together and share ideas. I personally only know of two different people in Houston who have built container homes down here.
It’s definitely not as prevalent as it is in the Pacific Northwest, but it’s growing. There are a few places in Houston that use multiple shipping containers for modular architecture. I know of one couple downtown who built a home with two shipping containers.
I think the shipping container is actually a really plausible idea for this area. The only big consideration with containers is the heat, especially being in a place like Texas. Insulation is important. Otherwise, there are many benefits. Containers are basically tornado shelters, so they are very secure. Plus they are so readily available here since Houston is coastal.
Can you talk about your background as an engineer? How much did this influence the development of your project?
My dad was a woodworker growing up, so I’m not afraid of power tools and I’ve done some remodeling before on previous residences. I went to school for aerospace engineering. At my university I worked as the machine shop monitor, which allowed me to work with tools and composites and all kinds of things.
Now I work as an engineer at NASA. Working for a government space program is so highly regulated for quality standards. I don’t get to touch and build my own hardware. With this shipping container project I was able to design, work with tools, play and build.
Ultimately this was kind of my creative outlet project as an engineer.
Were there any new things you had to learn in order to make the project happen?
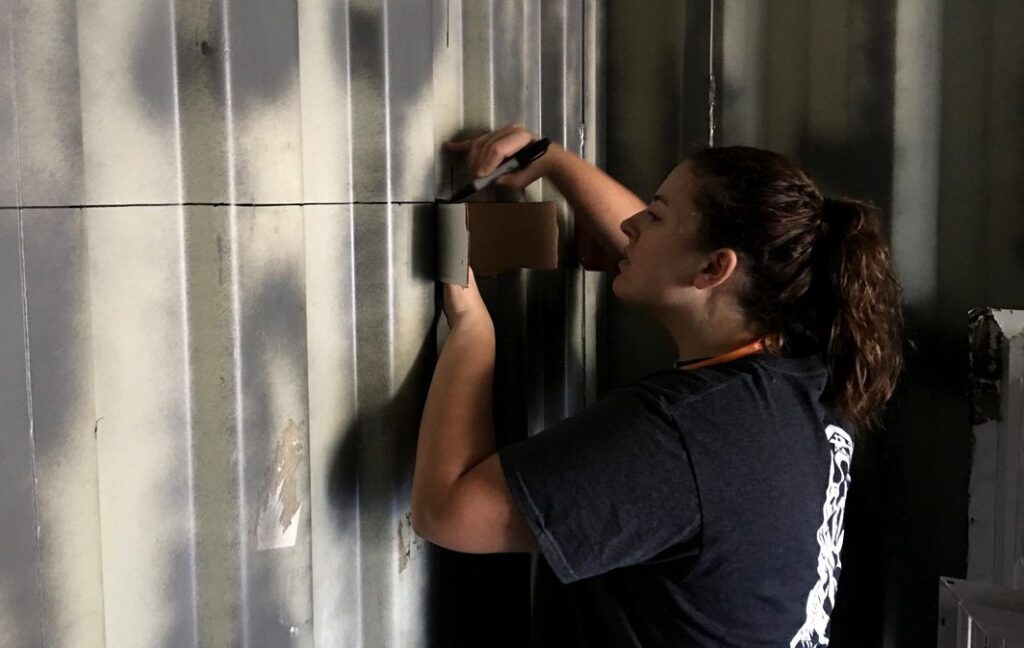
There were only a few things I needed to learn before I started building my container. Welding was the biggest learning curve. Luckily I have a friend who is a welder and he gave me a few lessons. He was also around when I was doing all of the welding on my container.
The rest of it involved a bunch of research online and talking to people at work. I designed all of my electrical schematics and had an electrician look over everything. Same with the plumbing, insulation and all of the finishing touches.
Everything was kind of “fly by the seat of my pants” and figure it out as I go.
Why InSoFast?
I didn’t want to lose a whole lot of space in my walls given that the shipping container is only 8 feet wide. Every inch of the container is valuable and InSoFast saves space. The integrated composite studs also meant I wouldn’t have to frame out and insulate. It makes construction so much easier, plus the cost was comparable which made it a no brainer.
Being in Houston, I was also looking for a good R-Value with minimal depth of insulation. The fact that the panels interlock and eliminate thermal bridging was really important. The metal containers heat up so much that you could fry an egg on the roof in the springtime!
Choosing insulation was probably the biggest decision I made.
Can you talk about the process of installing InSoFast in your container? Were there any obstacles you encountered along the way?
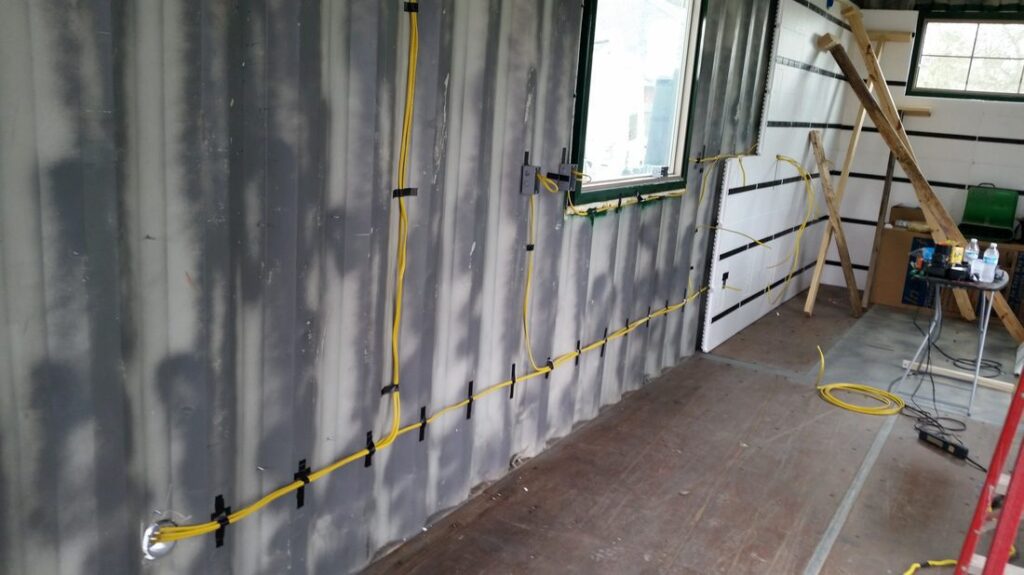
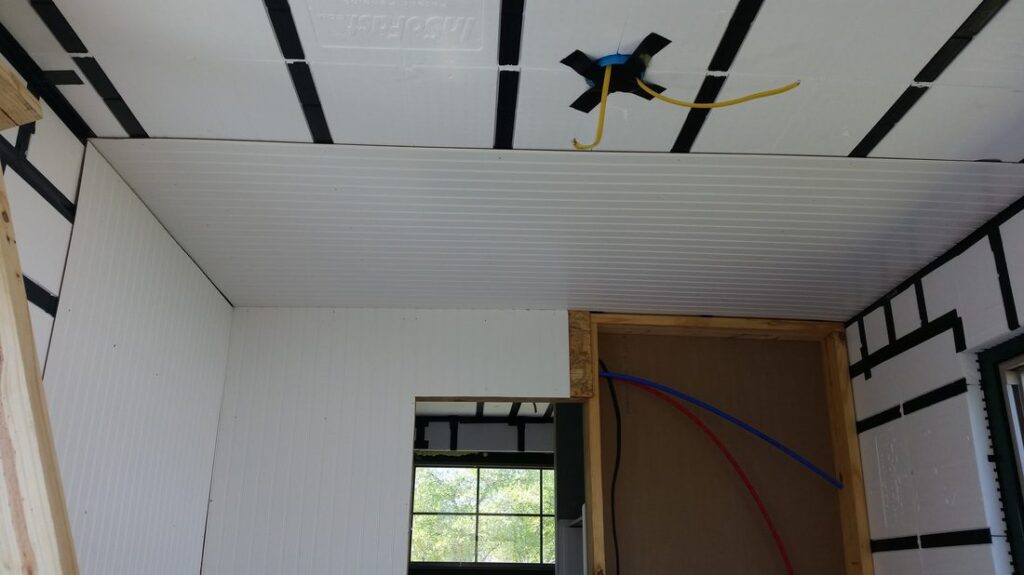
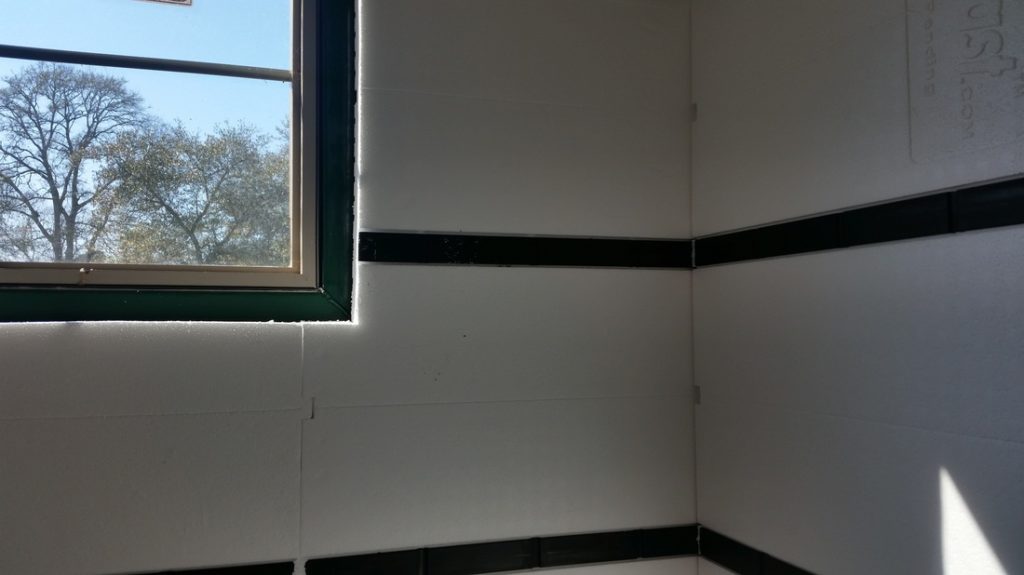
The main thing that’s important to keep in mind is that you need to turn your studs horizontally instead of vertically when using InSoFast in a shipping container. This allows the studs to adhere to the corrugation of the container.
I liked that there was flexibility to put the studs wherever, in terms of cutting the panels, but the reality is that shipping containers have dents. My container was very affordable because of the number of dents. I tried to pound out as many as possible, but the remaining ones ended up making the InSoFast installation a bit tricky.
My kitchen and bathroom area had the most dents which made it difficult to create a continuous wall with the panels. I had to deal with the fact that they would protrude out a little bit and mitigated it with a few other things.
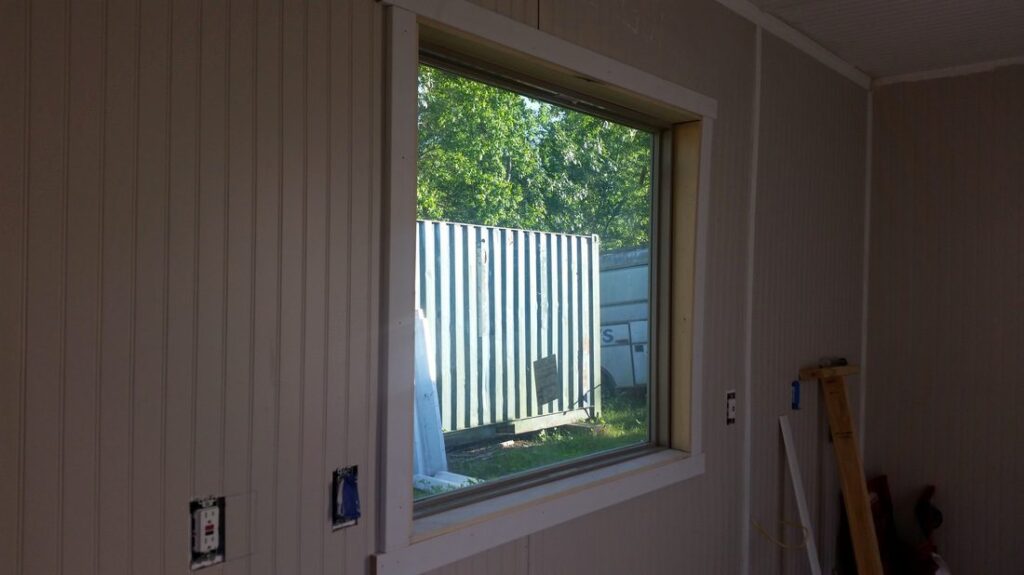
I ended up using beadboard in the entire interior of my container. Being in Houston, the humidity caused the beadboard to warp. There was no way I could get around it. I glued the entire back of the panel and nailed it to the wall but I still had waves where the two panels would meet.
I solved this problem with some finishing touches. I took 1 in x ¾ in pine strips and cut them in half. I put these over the joining of the two pieces of beadboard which kind of drew them down and evened out the waves. Once I caulked and finished everything you couldn’t even tell that the panels were wavy. Every four feet there’s a piece of trim that blends in and looks really nice.
So there are some caveats to the process in terms of working with things like the trim and crown molding. Sometimes you need to cut into the panels and produce a little bit of waste.
You are one of our first customers to use the custom inserts for shipping containers. How did they work out?
The inserts made a huge difference in terms of comfort! Since certain areas of my container had huge dents, I decided to only use the inserts in a portion of my container.
I can really tell the difference in temperature when I compare the areas that use both the panels and the inserts to the areas with just the panels.
In the humid southwest how quickly did the PL Premium adhesive set?
I used InSoFast’s recommendation of 24 hours for the set time which worked out really well. PL Premium actually sets better with a little bit of moisture. On the bottle they recommend that you spritz it with a bit of water if you want it to set faster.
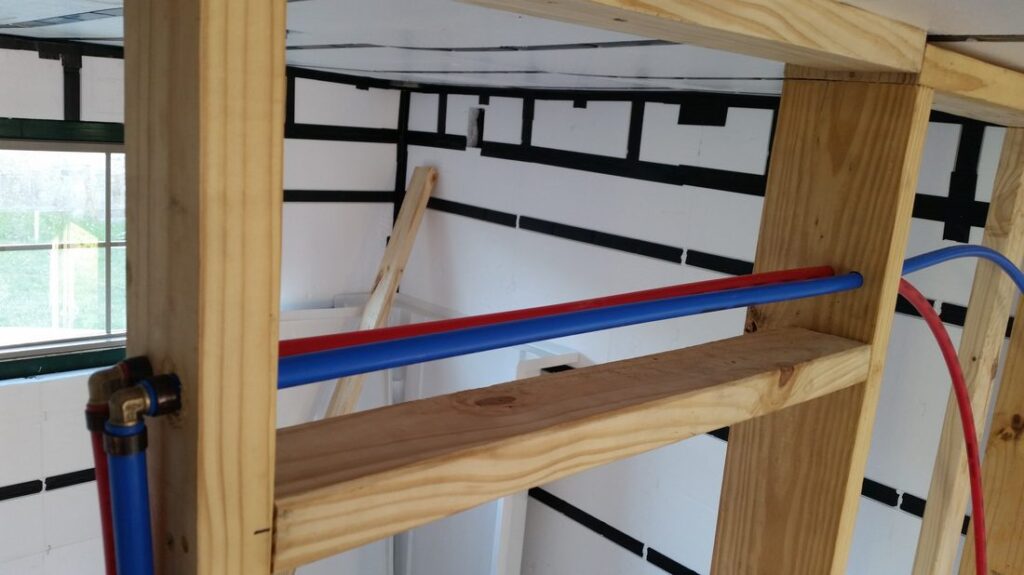
To brace the wall panels I built a bunch of 2×4 frames to hold the panels up while they set. On the ceiling we struggled to put the first two rows of panels up, so we came up with a good system of bracing the panels.
For the ceiling we used 2×6’s that were 12 ft long with two 2×4’s coming down. We would lean those up against each wall which would brace the outer studs. We took a 2×4 and cut a foot section and put a 2×4 leg on it and wedged that in the center where the two panels meet.
I reused all of that lumber to re-frame my bathroom which worked out really nicely.
At this point the InSoFast is installed and you are living in your new container home. What’s next?
Yes, I’m living in my new house full time now. All I need to do at this point is finish my baseboards inside, install my AC and paint the outside.
One of my largest motivation for building a tiny house was to get out of debt. In less than a year and a half I’ll have student loans and my car paid off. I’ll be living rent free and mortgage free. Once I reach this point I’d like to invest in some solar panels. I’m hoping to get it set up to the point where I can be self sustaining and put energy back on the grid.
My friend and I recently built our greenhouse and started planting. Right now we’re still figuring out what we can actually plant out here in Texas that will survive the heat. Hopefully next summer we will put in an aquaponics system, so we will have fish and water beds in our greenhouse. We also have two boxes of honey bee’s where we collect honey. I just planted a bunch of veggies around my container.
So this project is kind of an ongoing creative outlet?
Absolutely. Another thing I need to do is set up my grey water treatment system. I’m going to build raised flower beds where my sinks and my shower come out of my container. I’d like to set up a passive greywater system where waste water will filter through the beds and water the plants.
Being in Texas I think that will be really valuable to not just be wasting that water. Right now all of my water just dumps out of my container and evaporates but I’m very careful with my water usage and I opt for biodegradable soaps and cleaners.
We’ve also gotten started on several other things. We need to finish my friends house and build out our workshop. It’s definitely all a work in progress. We even just got a bunch of fire brick to build an outdoor brick oven, which we’ll probably do sometime next month. There’s always little projects happening.
This all sounds very exciting. Are you two working with a large plot of land?
We only have a little over ½ an acre. It’s not huge. My friend’s house is about 50 feet away from mine. We’re actually going to build a common area in the middle with a firepit and a deck.
The workshop is a prefab 20 x 40 ft building. We have all of the materials for that building in an extra container at the moment. Right now we have 5 containers on the land. One is a 20 ft storage container. We have a 20 ft tool container which is basically a workshop. You go in and it’s lined with shelving and air compressors and benches. We have another one that’s basically full of raw materials, mostly metals for the workshop we are going to build.
Would you ever consider expanding your house into a 2 container space or are you set on the smaller lifestyle?
I’ve already designed plans for a larger one. I could put the second container on the side of the house but I’ve also thought about placing a 20 footer on top and making it the bedroom. A spiral staircase would lead you up to the second floor and there would be extra space for a walk out deck.
I have all kinds of plans!
Now that you’ve completed the build out, do you have any advice to DIY-ers and InSoFast-ers interested in planning a shipping container project?
My container is actually a High Cube Container which means it has an extra foot of height. It’s 9 ft 6 in tall. I would definitely recommend that extra foot of space. It makes everything feel so much larger inside.
When I was installing my InSoFast panels to the container I placed a zig-zag going up the foam where it connected to the container corrugation, along with the standard bead across the stud that would come in contact with the wall. I found this helped to get even better adhesion.
The adhesive tends to keep pouring out after you’re done. At first I was using a piece of scrap paper and I’d end up with all of this wasted glue. Somewhere about halfway I ended up setting it on the next InSoFast panel while I was working. That helped to cut down on waste.
InSoFast recommends working in pairs during the installation process. One person should glue while the other adheres the panels to the wall. This production process prevents the adhesive issue Ashley encountered and quickens the pace of installation.
Thanks so much for sharing your story Ashley. Any last words on InSoFast?
The InSoFast has worked extremely well. I’m so pleased! I only have a little window unit in my home right now until I get the actual AC installed and it’s working like a breeze.
My friend’s container is not insulated with InSoFast. He’s just using 1 in high density foam panels that do not interlock. It honestly seems like it doesn’t do anything. You walk into his container and it’s so hot.
Who knows if this will ever happen but I’m actually considering designing and building these shipping container homes as my full time job. I really enjoyed the process. If I were to ever take this leap I’d use InSoFast in every single container design.
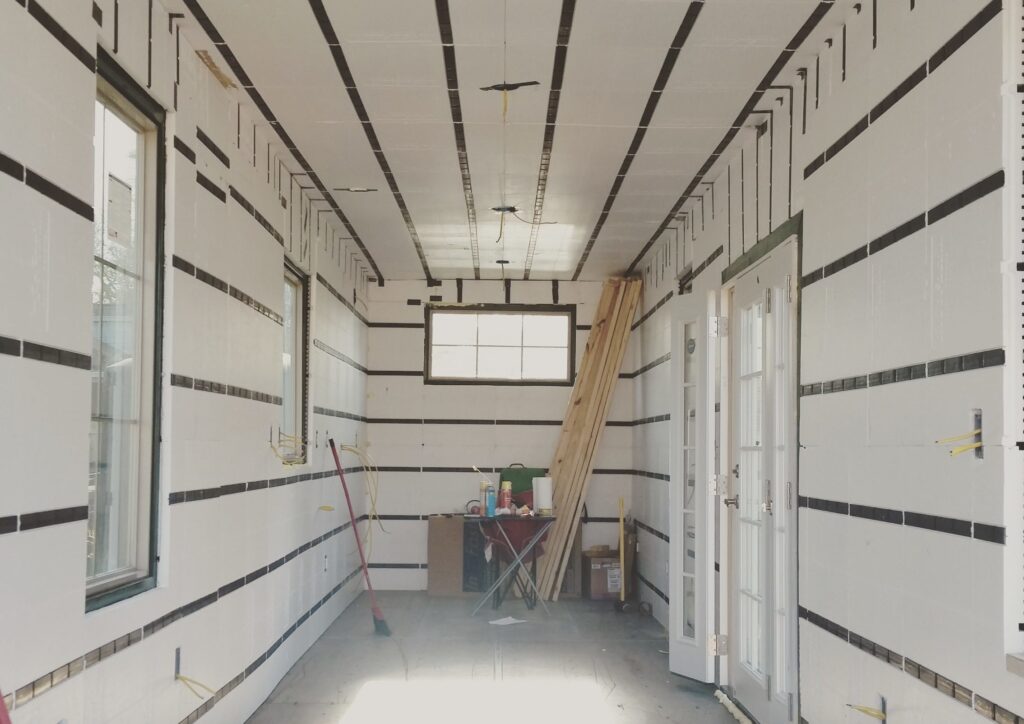
The shipping container movement is clearly growing. It’s been fascinating to watch Ashley’s project evolve over the past couple of months.

