
Customer Review of InSoFast
| Install | Ordering | Quote |
This post is a follow-up to Review: An Extreme DIY-er Discusses Insulating a Basement with InSoFast.
When my wife and I purchased our house in April of 2013 we saw great potential in the basement. It was 1300 square-feet of clutter and dust, but we knew we wanted to finish it off. After buying the house I began to figure out the best way to insulate and prepare the basement walls for drywall.
I explored every possibility— stud walls, several types of panel systems and many different types of insulation methods. The modular panels were very expensive and just looked bulky. The stud walls would have been a hassle in terms of both the extra work and the process of taking all the materials down to the basement.
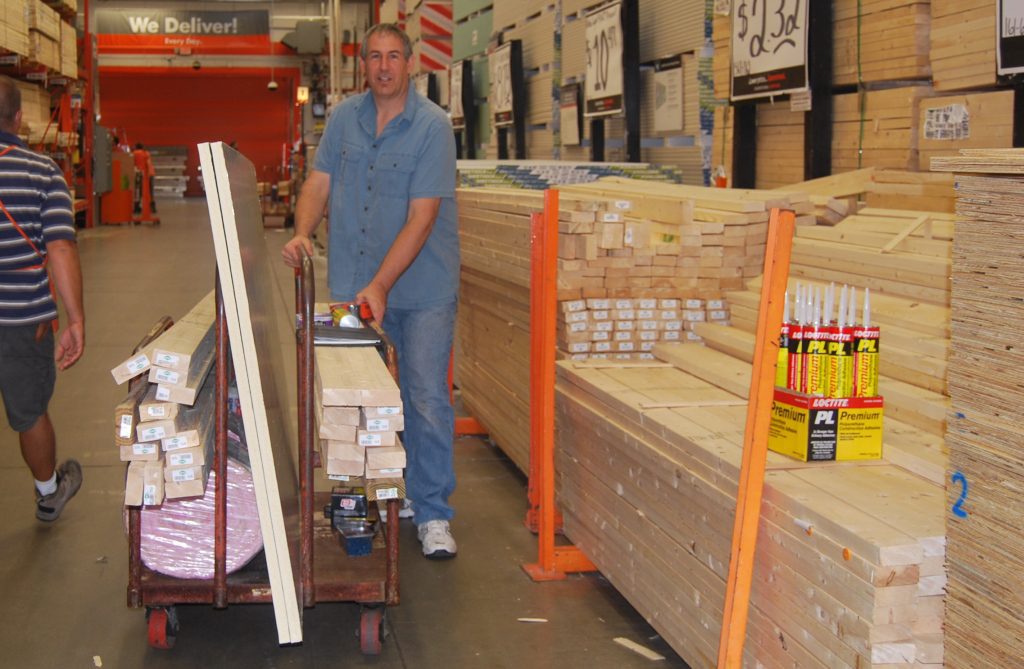
Lumber and insulation needed for a basement project.
I spent hours watching videos on the InSoFast Youtube channel and eventually contacted Dean to answer some questions about the product. In September of 2014, I finally decided to insulate my 25 x 50-foot basement with the UX 2.0 panels, the ones that are 2 inches thick. I placed an order for 52 boxes to cover the walls and floor.
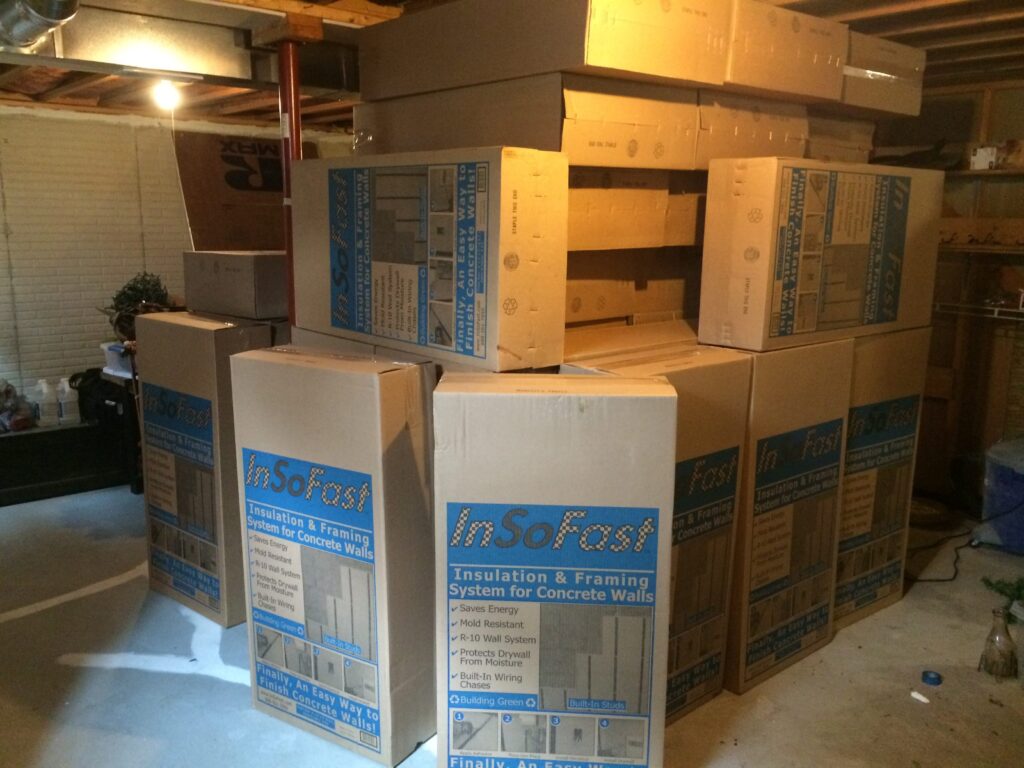
About 10 days later, 4 pallets were delivered and the driver was more than willing to help unload the boxes. There was no need for a fork lift because the boxes were extremely light. I have hopper style windows in my basement, so I was able to slide the boxes right through them. I installed a makeshift ramp from the window to avoid damaging the panels. The boxes stacked in a nice, neat pile with plenty of space left to work on the installation.
In terms of preparation, I did a few things before installing the panels. Prior to receiving them, I installed all the electrical receptacles to NEC code and used 2½-inch metal boxes and 1½-inch Tapcon screws to fasten the boxes to the wall. I also cleaned the entire perimeter using a wire brush and Shop Vac to remove any loose dust and dirt off the wall.
To get a feel for the panels I did a dry stack without using any adhesive. This helped plan the necessary cut-outs for things like electrical boxes. The boxes extended a perfect half-inch from the panels, meaning the face plate would run flush with the drywall.
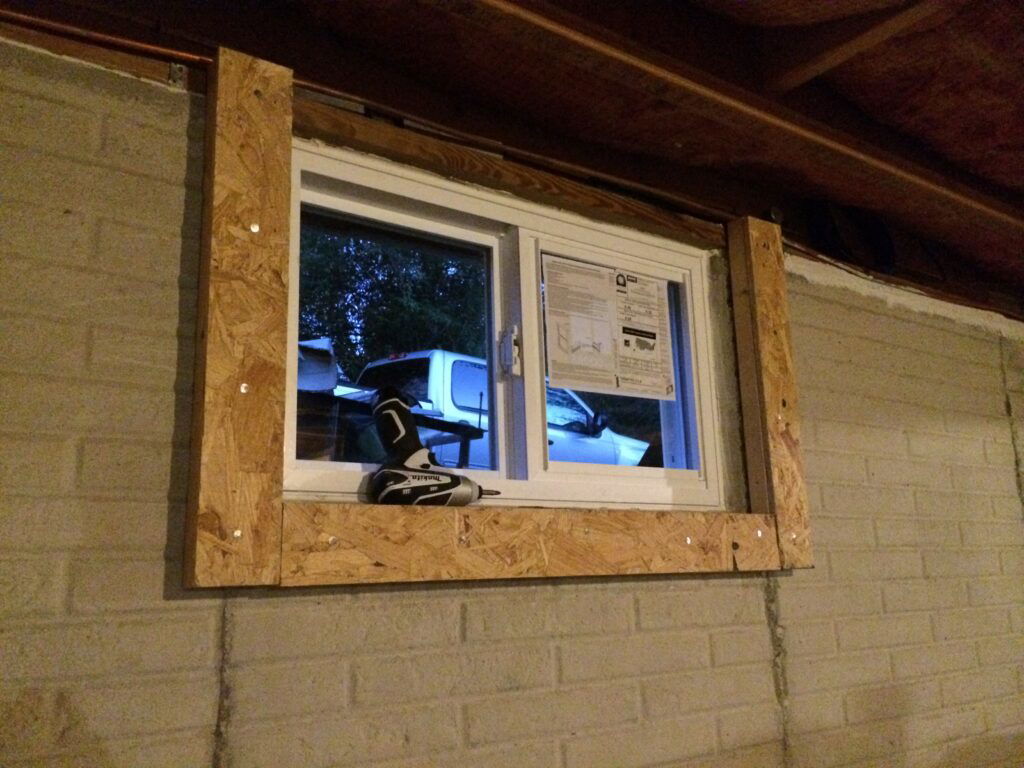
I have to admit I was a little hesitant to start the project by myself, but once I opened the adhesive I knew it was now or never. I decided to use spray foam on the floor for the first row of panels. That went smoothly. I had to shim this row very slightly (less than a quarter inch), so while I was waiting for the glue to set I tackled the windows. I used a 2×4 and a piece of half-inch plywood to add the 2 inches of depth I needed in order for the windows to be even with the panels.
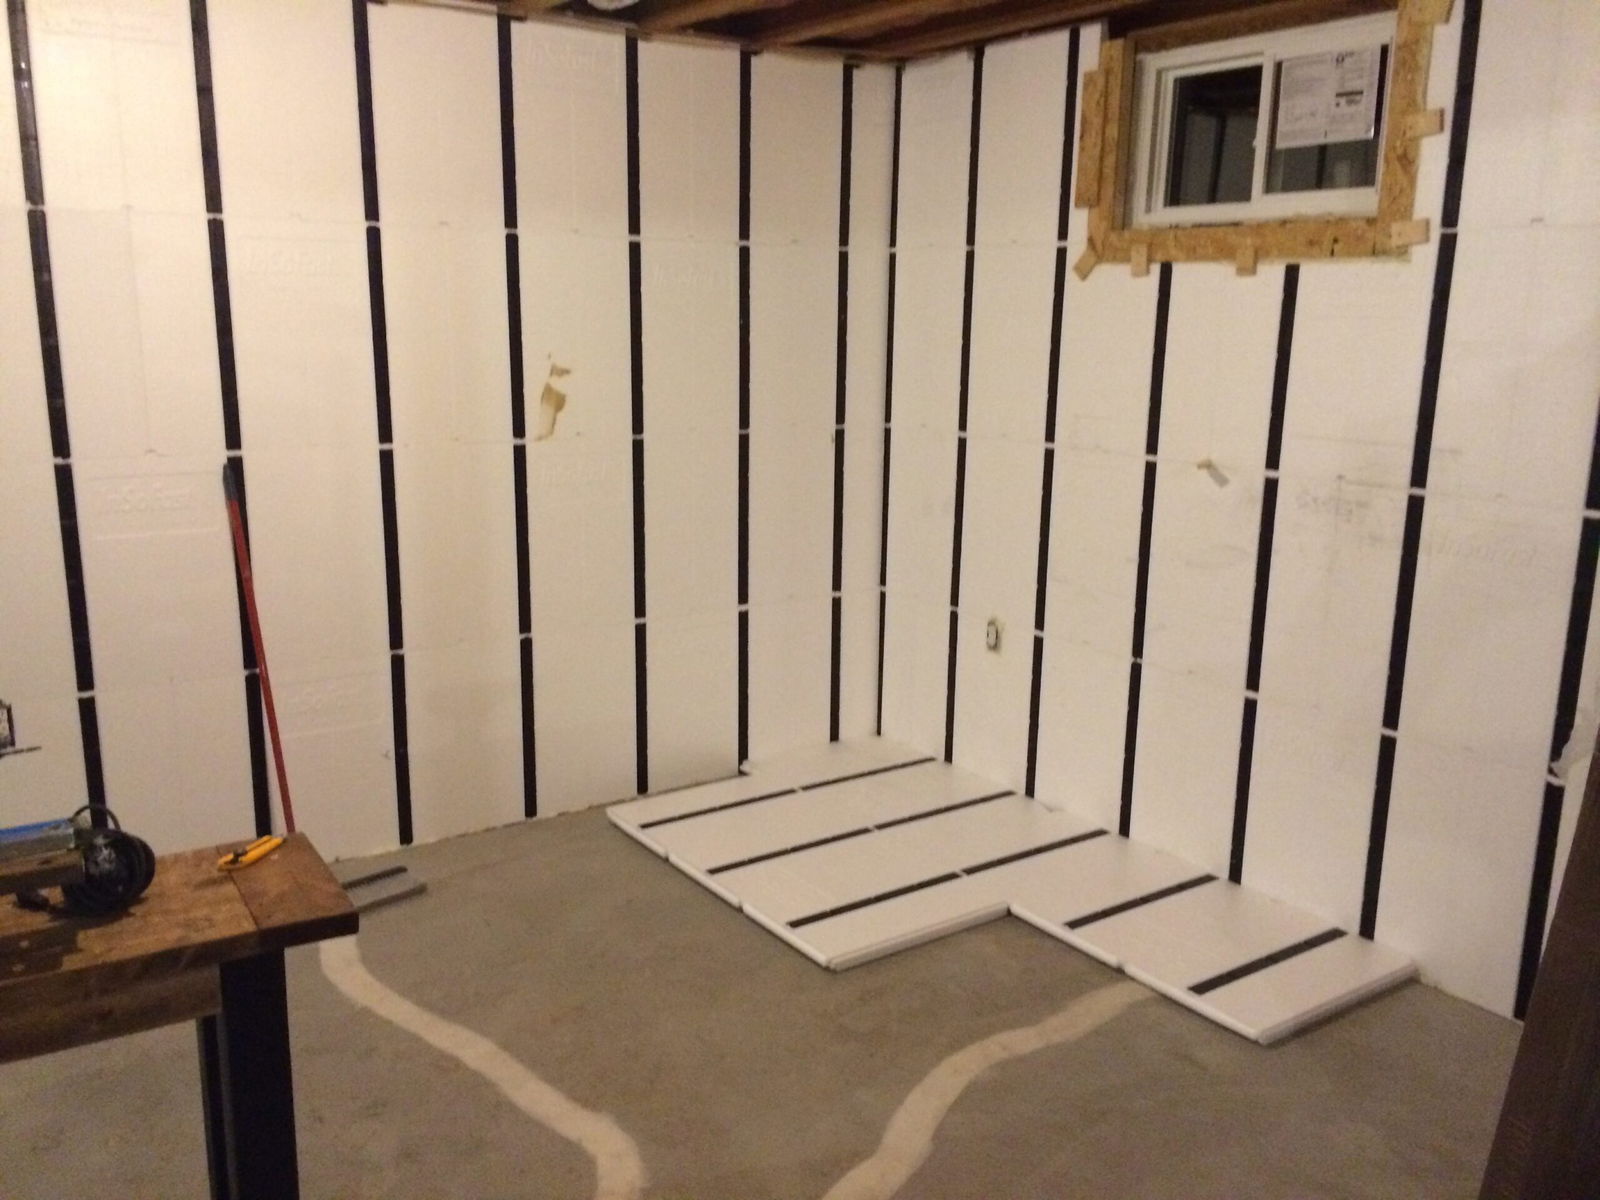
Once this was complete I transitioned back to working with the InSoFast panels. I began staggering the panels with the interlock pattern. It took about an hour and a half to complete the 25-foot long by 8-foot high wall, including padding out two windows. I used spray foam to seal around the electrical boxes and on the 2x4s where the panels met the wood.
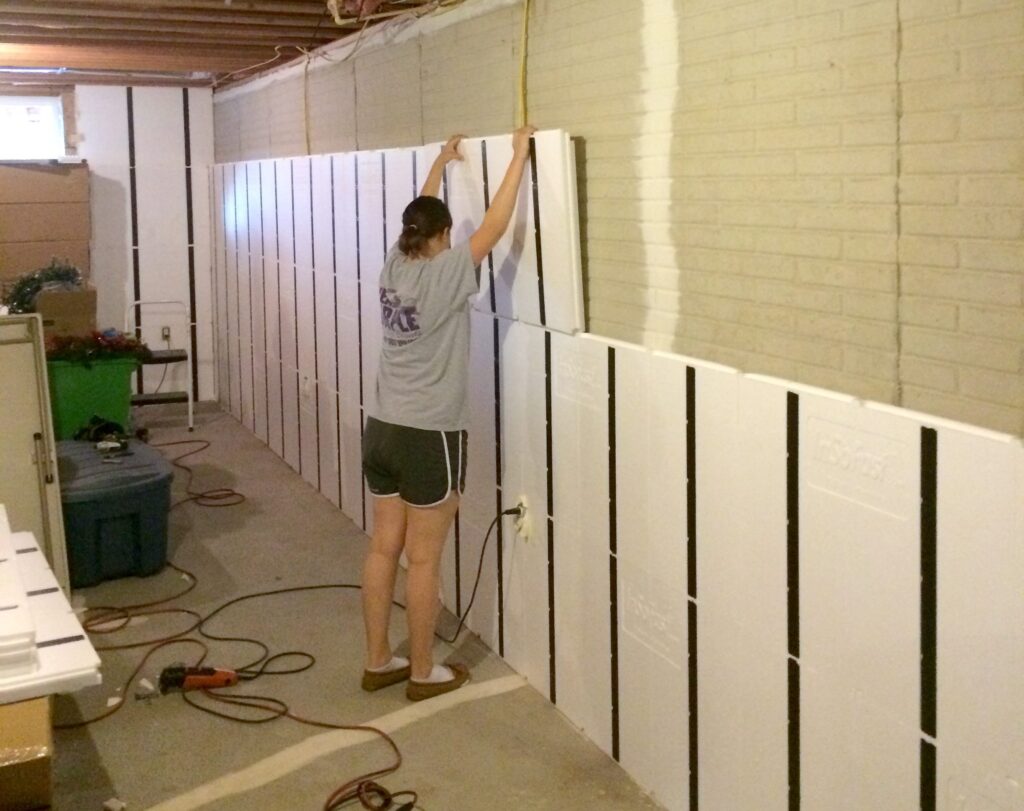
With the first wall completed I was eager and confident to complete the rest. The next day as I was preparing to work on the 50-foot wall, I noticed my wife standing behind me. She usually only comes down to yell at me for making too much noise. This time was different. She wanted to help!
With the two of us working together we were able to get the second and third rows complete in about 30 minutes. For the last row I had to cut between the floor joists. That added a little extra time, but after completing 95% of the wall in under 4 hours I really couldn’t complain.
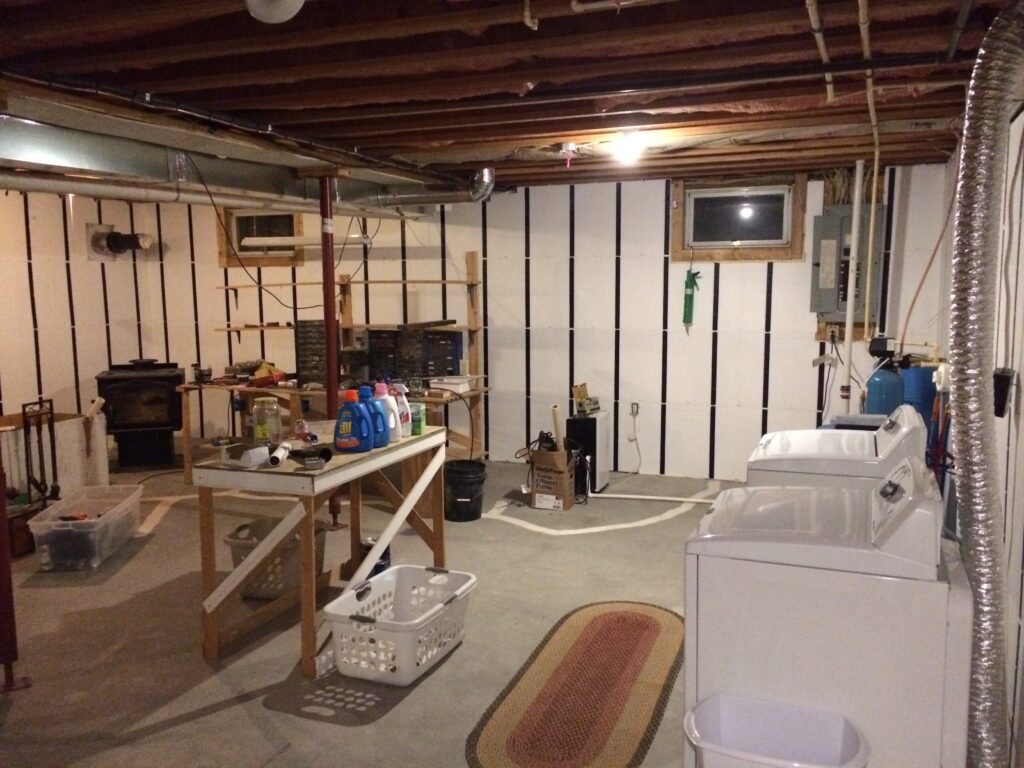
I left the fourth wall until the very end for a reason— pipes and more pipes. The well pump, washing machine, dryer, water softener and the main sewer line were all on this wall. I didn’t want to have any pipes behind the wall so I rerouted the water lines for the washing machine to sit flush with the drywall. I also removed my outdated water softener and replaced it with a sleek, new on-demand water softener.
Most of the pipes were in one area, so started installing panels in the other area. I was able to complete that whole section by staggering the panels up as I went. It was a bit of a challenge to get a tight fit around all the pipes but with patience, a dead blow hammer, and a piece of plywood it was bearable.
There wasn’t enough room to slide a panel behind the pipes nor was there any room to move the pipes. My solution involved holding each pipe-conflicted panel over its approximate location with a piece a plywood on top and gently tapping it with the dead blow hammer to give an impression of the pipes. This way I would know where to cut around the pipe.
I dry stacked the whole area, cutting as I went. Once finished, I disassembled and reassembled with adhesive. I found it was much easier to have all the pieces cut before gluing. With all the walls complete, I spent the next hour filling cracks and gaps with spray foam. I also went around all the pipes, electrical boxes, windows and corners.
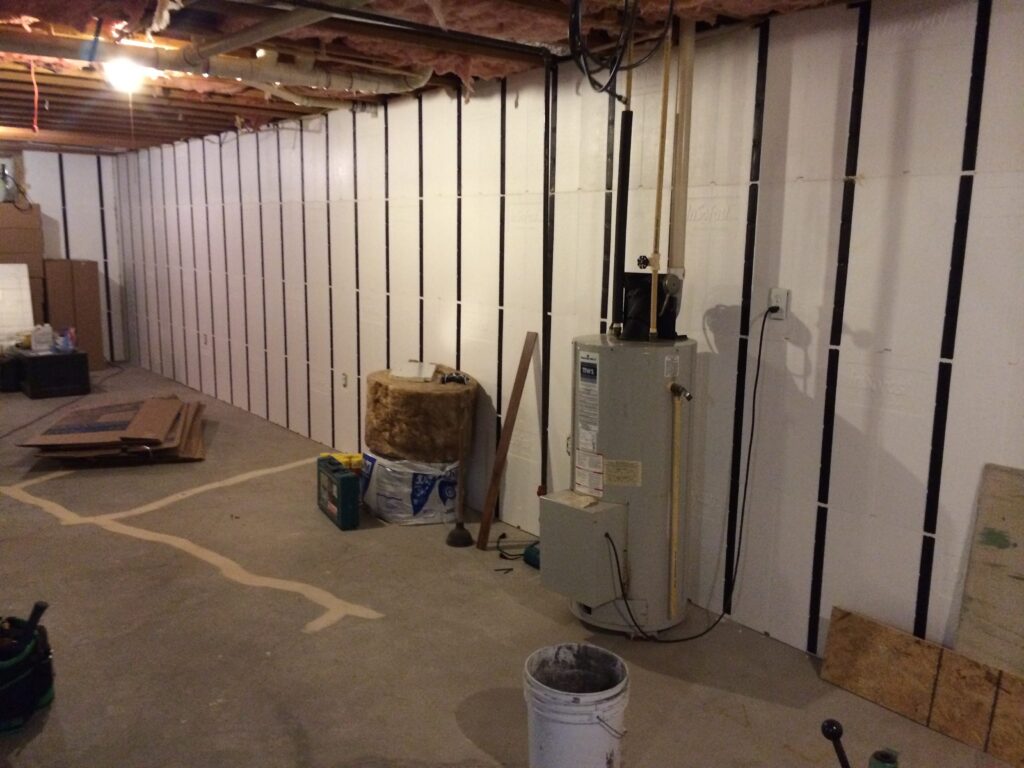
It was starting to get cooler during the early fall nights. Typically our basement is about 58-62 degrees in the winter time. Once the walls were insulated I could sense a huge temperature difference. It was significantly warmer. With the outside temperatures dipping into the 30s at night I wanted to get the floor done.
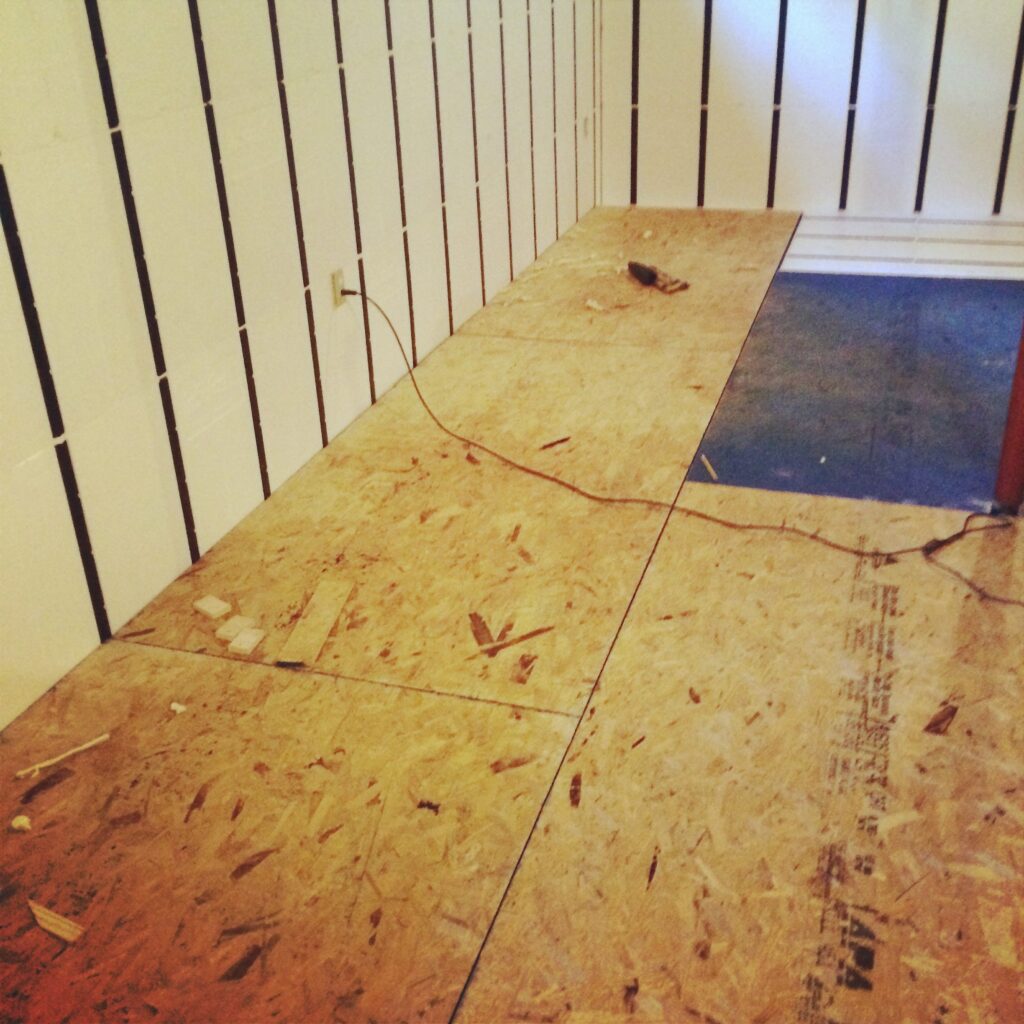
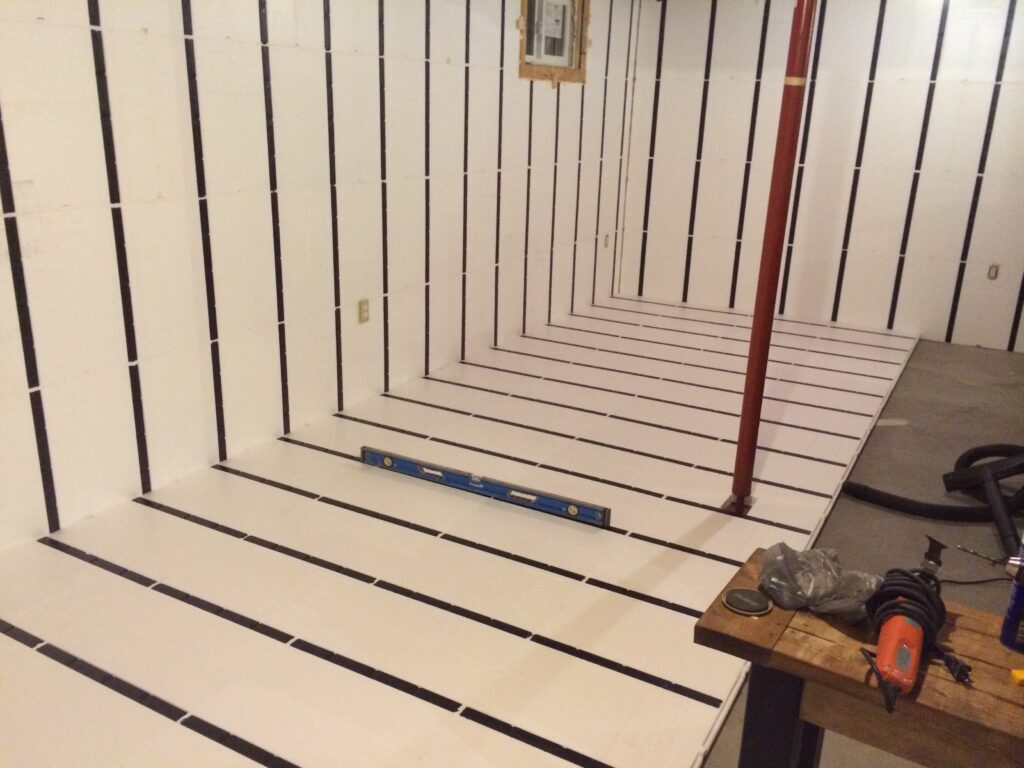
Luckily my floor was actually pretty level and I was able to cover it pretty quickly. There were a few bumpy spots out about a quarter inch, but nothing more. There weren’t many obstructions besides the 2 center beam supports. I added a double landing to my steps so that you could access both sides of the room which added a bit of time to the process. After the floor was down, I covered the panels with three-quarter-inch tongue-and-groove plywood fastened to the plastic studs.
As of writing this, I am ready for drywall which I intend to start in the next week or so. The holidays and work are starting to eat up my time. When I look back on the project, I am so glad that I purchased InSoFast panels. I insulated my walls in about 3 days and they’re ready for drywall. I spent a few hours on the floor and its solid. I didn’t make loud noises and I got my wife involved. I don’t have to worry about mold growing behind the panels and there are wiring channels if I need to add outlets. At the end of the day I was able to relax without a sore muscle in my body because there was no heavy lifting.
Installing InSoFast was a great experience. I’m trying to find more areas to use it around my house and I can assure you anyone who buys this product will have the same reaction as me. Don’t waste any time trying to figure out which one is cheaper or easier. I’ve already done that work for you!
Robert Pyles considers himself an Extreme Diy-er with a background in construction and building. We found out about his project when he posted a video review of our panels on YouTube and quickly got in touch for a full interview. He says he posted the review as a resource for others to ask questions and get inspired.

