
Quick Links
- Installation Preparations - Basic Installation Procedure
- Installing Panels over Masonry Walls
- Corners Installation Inside and Outside
- Window Detailing - Other Through-Wall Penetrations
- Installing Exterior Finishes - Cold Weather Installation
Installation Preparations
- Step-by-Step:
- InSoFast Exterior Installation 2017.03.pdf
- Project Estimation:
- InSoFast panels are generally estimated the same as siding. Take the total square footage of walls less openings (openings calculated with 6” of waste on all sides). Gable end square footage can be estimated by adding 2’ to the height and width. Do not overestimate.
- Tools and supplies
- Screw gun
- Long snap off blade utility knife
- Saw – hand, jig, skill, table
- Gap and crack foam for sealing corners/openings and at the top of the wall
- Wall Preparation per Industry Standards
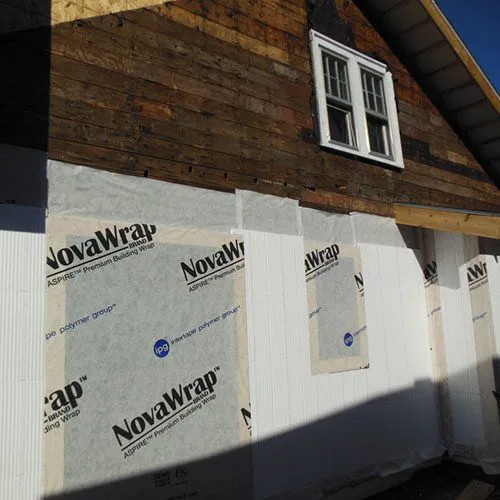
- All openings, penetrations, etc should be properly flashed, sealed, and integrated into the weather resistant air barrier (WRB) so that the wall assembly is watertight before InSoFast panels are installed. The WRB products should be installed according to industry standard practices and are independent of InSoFast insulation panel.
Basic Installation
Starter Track
Snap a straight line for the starter track or metal flashing at the bottom of the wall so that the bottom of the InSoFast panel is not exposed.
Orientation of Panels
The word “InSoFast” must face outward toward the installer with the exposed ribbed side of the studs going against the wall or sheathing. No black strips will be visible. (photo right)
InSoFast panels are installed with the 4’ width dimension running horizontally. The 2’ height dimension, studs and moisture control channels all run vertically.
The top edge of the panel features the interlocking tongue and the bottom edge features the interlocking groove.
When cutting panels for corners, openings, and penetrations, leave a ¼” gap to fill with foam sealant.
For easier installation, do not install the upper row of fasteners in the InSoFast panel until the panel above has been set in place.


