
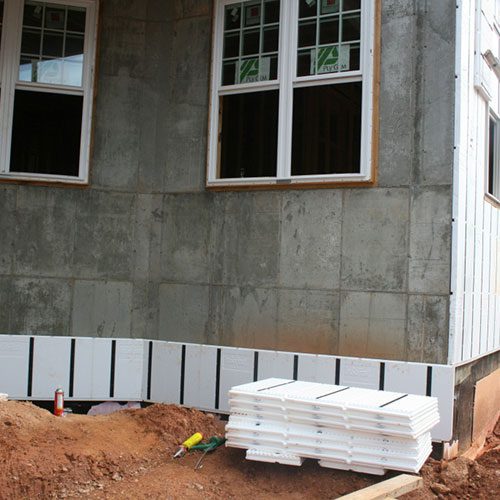
Exterior Adhesive Applications
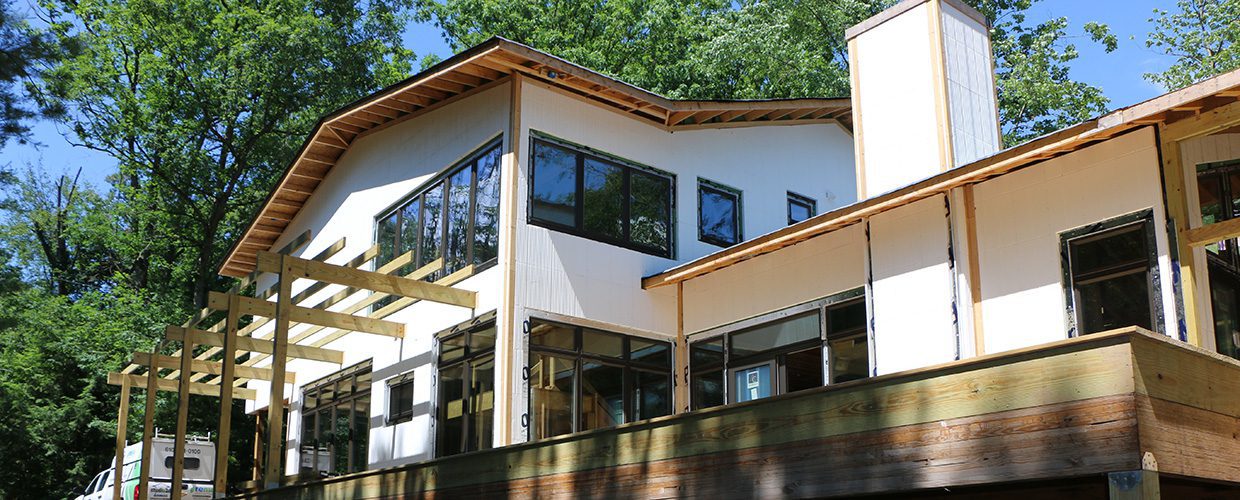
How To Install Links:
- Installation Preparations – Basic Installation Procedure.PDF
- Installing Panels over Framed Walls
- Corners Installation Inside and Outside
- Window Detailing – Other Through-Wall Penetrations
- Installing Exterior Finishes – Cold Weather Installation
- Other Finishes
- Retrofit Installations
- Increasing R-Value
Adhesive Attachment
We have tested and recommend PL Premium 3X Construction Adhesive® for bonding to the InSoFast studs. Other formulas and brands may not work as expected.
Important Notice Extreme Weather Conditions Application Tips:
Use above 40°F (4°C). Surfaces must be clean, dry and free of frost, grease, dust and other contaminants. Pre-fit all materials and protect finished surfaces. If using cartridge format, cut nozzle at a 45° angle to desired bead size and puncture inner seal. Be very careful not to allow Loctite® PL® Premium to cure on a finished surface. Cured or uncured, interior or exterior, moisture has no negative effect on PL Premium. In fact, it actually uses moisture to cure. The adhesive remains stable in all sorts of extreme freeze/thaw weather conditions.
- For extreme weather conditions see the manufacturer’s instructions on their website. Loctite Cure time is dependent on temperature and humidity. Ensure sufficient time for the adhesive to set and cure before attaching exterior finishes or use mechanical fasteners. PL Premium 3X is freeze-thaw stable but it does not cure during freezing temperatures or under extreme hot conditions with low humidity. You may have to mist the panels with water to help the adhesive cure.
- Rougher or uneven surfaces may require a thicker bead. Press panels firmly into place against the wall. On windy days, the panels may need supplemental bracing or mechanical attachment to secure the panels until the adhesive has set.
Application
Apply adhesive to the ribbed stud surface on the InSoFast panel/insulated stud. Press the bonding surfaces firmly together. The panels/studs may be repositioned within 30 minutes after applying the adhesive. If bonding two non-porous surfaces (such as InSoFast panel/studs, to metal or fiberglass), add water in the form of a very light or atomized spray from a plant mister bottle to the adhesive extruded on the stud, this accelerates the adhesive’s set time. When adding moisture re-positioning time is reduced. If needed use mechanical support for 24 hours while the adhesive cures. When bonding InSoFast panels/studs, avoid cure and surface temperatures above 90°F (32°C).

Testing was conducted using Loctite PL Premium’s 3X Stronger Construction Adhesive, (
in Canada it is marketed under the LePage PL Premium brand,) on clean concrete surfaces. It is the only adhesive we have tested. Other formulas and brands may not work as expected.
Important read the adhesive manufacture’s information before proceeding.
Application Process
-
1. Find the Ribs
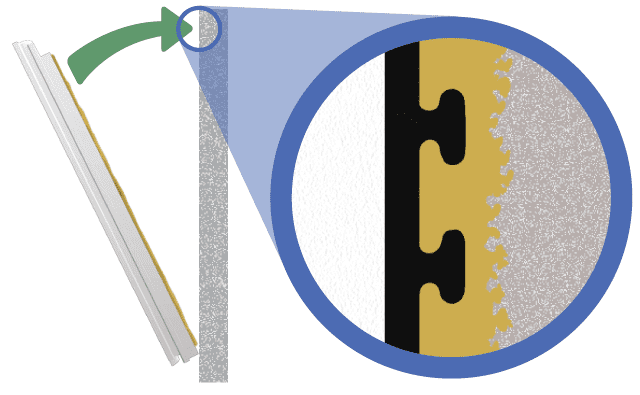
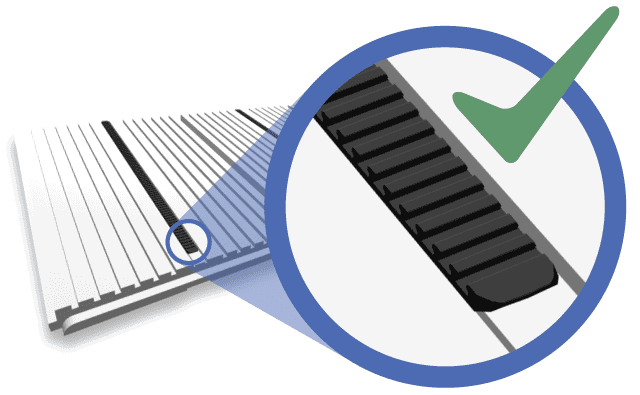 Make sure you are gluing the ribbed side of the studs. The front side is smooth and will not form a strong mechanical bond with the adhesive. Quick Tip: You can speed up your installation by pre-stacking the panels with rib-side facing up, ready for adhesive.
-
2. Apply Adhesive
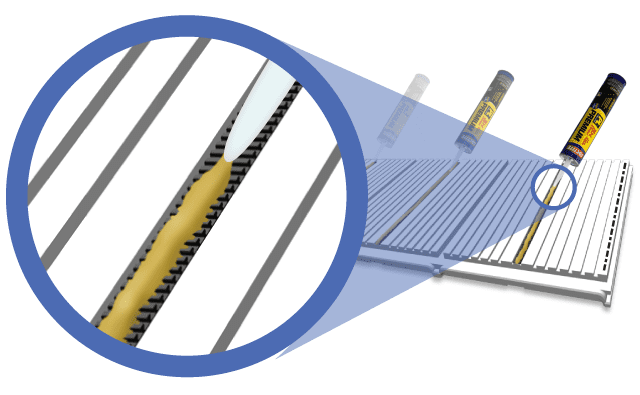 Run a ⅜-in bead of adhesive along all 3 studs. If you are placing the panel on the edge of a wall or in a corner, run a bead directly on the foam at that edge (see: dashed line). This will ensure a solid-backed attachment. Again, it is only necessary at corners and anywhere you cut a panel to fit around openings.
-
3. Press in Place
 Check that your panel is tongue-side up, with the rib-side facing the wall and that any interlocking edges meet. Press firmly against your wall. Don’t be alarmed if it feels a little spongey at first. PL Premium takes about 20 minutes to set and 24 hours to cure. It can form a “liquid shim” spanning gaps of up to ⅜-in and effectively tighten up small irregularities in a wall’s surface. On walls that are subject to peeling or flaking paint, it is important to supplement the installation of InSoFast panels with mechanical fasteners such as Tapcon® screws or Perma‐Grip nails. See: Installation > Screws and Fasteners
Calculate the number of tubes necessary for your project (adhesive coverage may vary):
- 1 large 28-fl oz / 828 mL tube = 6 InSoFast Panels or
- 1 large 28-fl oz / 828 mL tube = 48-sq ft of wall area
General Safety
Even though the adhesive is odorless, it is important to note its strength and abilities. Always wear disposable gloves and never allow PL Premium to cure on a finished surface.
Adhesive Testing
If you are unsure about the conditions of your walls, we recommend performing an adhesive test. Find a scrap 2×4 measuring at least 6 inches long and run a 3/8-inch bead of adhesive along it. Press the “test block” against the wall with one end resting on the floor to keep it from sliding down. Support it in place if necessary. You’ll need to wait 24-48 hours for the adhesive to cure, but keep in mind that PL Premium takes 14 days to reach it’s full strength.
When the curing time has passed you are ready to test the strength of the bond. Try to pry the test board off the wall. If you can manage to pull it off with your hands, you will need to mechanically fasten the panels to the wall.
See: Installation > Screws and Fasteners
When you begin your InSoFast installation, check to make sure you are using the right amount of glue. Pull back a freshly adhered panel and check for adhesive transfer to the wall. You should see about 1/4-inch wide adhesive transfer to the wall.
Do not install screws or mechanical fasteners until the adhesive has completely cured. (usually about 24hrs)
Base Coat Attachment
When using liquid applied WRB, panels may be applied using a compatible adhesive/base coat. See adhesive/base coat data sheet for technical data and information sheet.
Mechanical Attachment
If you choose to mechanically attach InSoFast panels to concrete or masonry walls, screws are to be placed 12″ o.c. along the InSoFast studs. Powder actuated tools are not recommended.
- Both panels InSoFast EX 2.5 and InSoFast UX 2.0 can be directly attached to most exterior surfaces as a continuous insulation barrier for the exterior envelope of a building. Fasteners design load should be resist the shear and wind loading resistance when used to secure the InSoFast panels to concrete, wood, or steel framing systems.
- Design Approvals: Where required by code or design professionals attaching the InSoFast panels and the suggested fastening methods identified may exceed 12″ o.c. should be prepared and engineered by a design professional licensed to do so.
- Design Loads: The design loads required by the local building code authorities shall not exceed the recommendations outlined in this guideline.
- Allowable Loads: The applied dead and negative wind loads should not exceed the tables outlined in this guideline for each of the different fastening systems for concrete, wood, or steel framing methods. The required fastener spacing is determined by the different fastener manufacture’s test reports for shear and wind
loading and not by InSoFast, LLC.
Related Information:
- Guideline for Methods of Mechanical Attachments
- EXe 2.5 Rainscreen Brochure (PDF)
- ITW Buildex Product Report: Stucco/Cement Board Applications (Rock On Fasteners) (PDF)
- ITW Buildex Product Report: Light-to-Medium-Duty Masonry Applications (Tapcon® Screws) (PDF)
- Installing James Hardie Products over ICFs (fastener info comparable to InSoFast) (PDF)
- Stucco and Stone Veneer Attachment information and links

