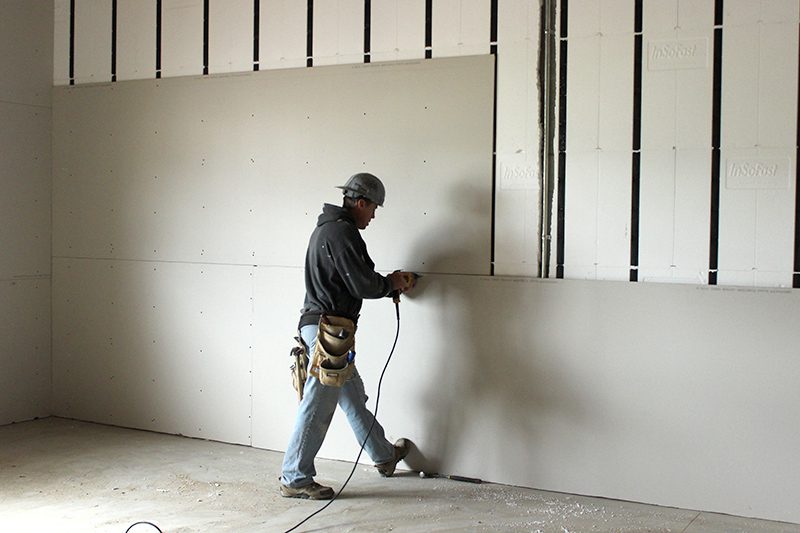
Drywall is installed over InSoFast panels in the same exact way it is installed over traditional framing. Simply attach drywall to the InSoFast studs using all-purpose coarse drywall screws. Type W Bugle Head Screws attach single layer gypsum panels to InSoFast framing. Screws provide greater holding power than wallboard nails, minimize popping and help prevent damage to the panels.
Follow the standards set forth by the drywall industry that the screw be at least a #6 x 1-5/8” long Phillips Drive Coarse Thread Drywall Screw for the Flat Panel UX2.0 and a #6 x 2” long Phillips Drive Coarse Thread Drywall Screw Flat Panel EXi 2.5. At a minimum the screw length should be long enough to pierce through the InSoFast stud 1/2″ so the tapered point is all the way through the stud.
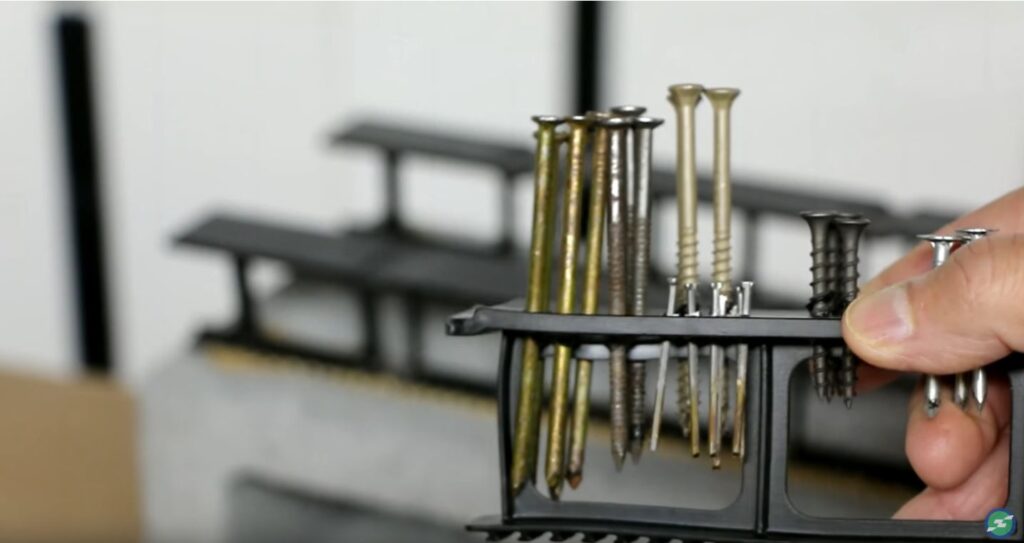
This picture demonstrates the variety of fasteners that will work with the stud and not crack or split for a secure and positive attachment for the finishes.
Installing the Drywall
Depth Stop for Drywall
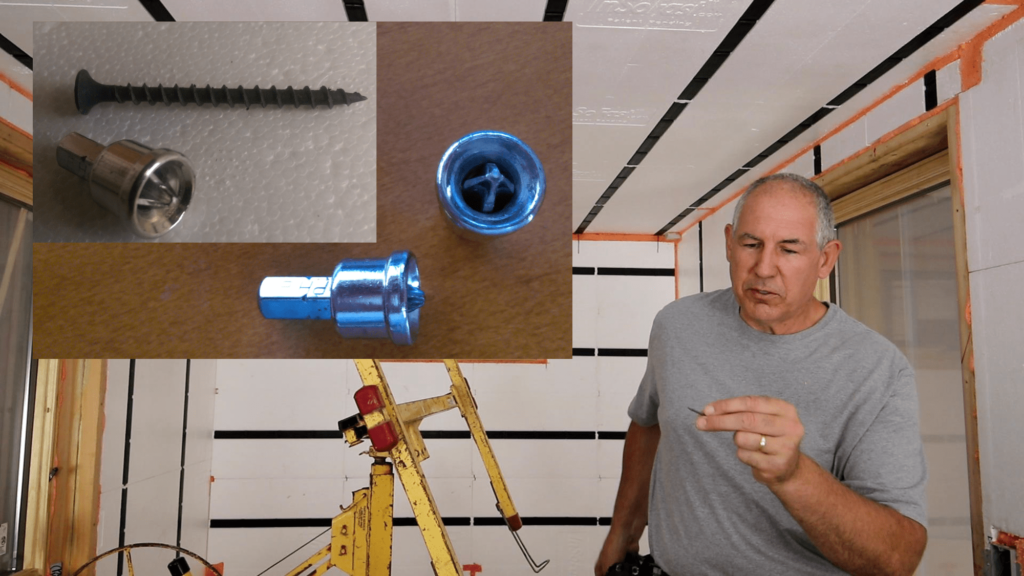
Drywall Screw Setters with your drill. They control the depth of the screw when driving in drywall, particle board and plywood.
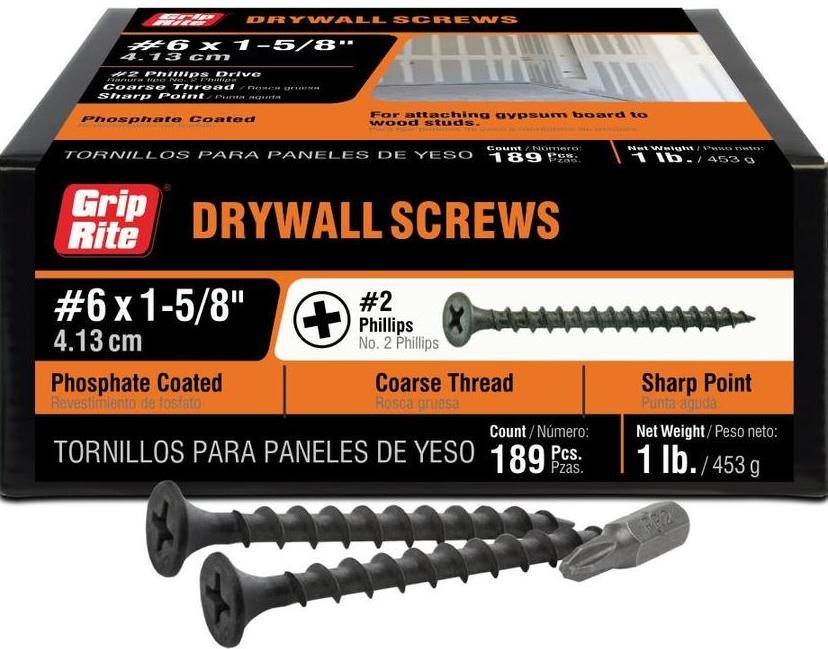
Interior applications to attach drywall we recommend a coarser thread bugle head drywall screw. The length of the screw long enough that the sharp point is all the way through the stud.
You should nail base and trim boards into the studs using trim nailer or hand nails.
Things to keep in mind
- Allow 24-hours for the PL Premium 3X Stronger Construction Adhesive to fully cure before attaching any finishes.
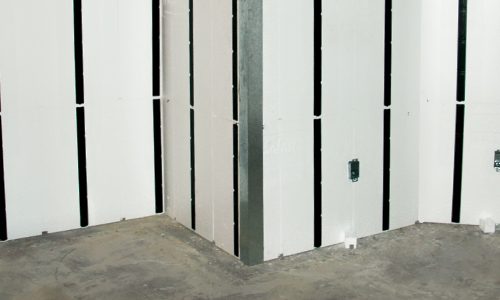
- When installing InSoFast in a corner, be sure to solidly back the panel’s edges that don’t end in studs. See (Corners, Intersecting Walls) for more details.
Other links to get you started
- Drywall Material Calculator: https://www.inchcalculator.com/drywall-calculator
- Drywall Material Calculator: https://www.homedepot.com/account/view/calculator/drywall
- Drywall Installation Cost Calculator: https://www.homewyse.com/services/cost_to_install_drywall.html
- Alternate Finished: https://www.insofast.com/explore/stone-and-stucco.html
Drywall Fire Code and Alternatives
Important: InSoFast panels are manufactured using a flame retardant foam and are classified as rigid foam plastic insulation. They fall into the same class as pink, blue and yellow insulation boards which are required by code to be covered by ½” drywall or any other approved 15-minute thermal barrier (IBC 2603.4). If choosing an alternative to drywall it is important to check with your local building code official to make sure it meets your local requirements.
Securing Drywall at Outside and Inside Corners
*Please note that although this is a video about installing drywall in a shipping container the metal corner utility angle will work for this application too.
- Use a metal corner angle (3″ x 3″, 25ga sheet metal) to wrap outside corners. Generally available in the roofing/flashing section of home improvement stores or drywall supply yards.
- Place beads of adhesive on the back side of the metal angle and press it against the corner. If necessary, hold the angle in place with duct tape.
- Hang drywall by screwing all-purpose drywall screws into the InSoFast studs and into the sheet metal corner angle. Install a second metal corner angle over the drywall using all-purpose drywall screws.
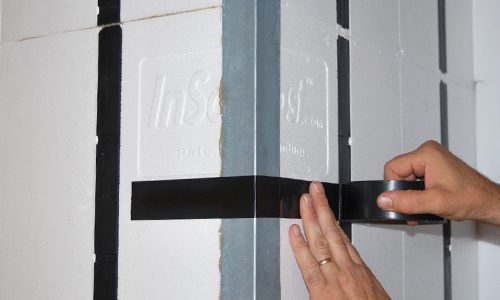
Place a bead of adhesive approximately 1″ from each side of the corner. Press 2″ x 2″ – 25 ga. sheet metal angle into adhesive. Attach drywall by screwing into the metal corner angle. Nail into intersecting stud. Attach drywall by screwing into the metal corner angle.
Stem or Partition Walls
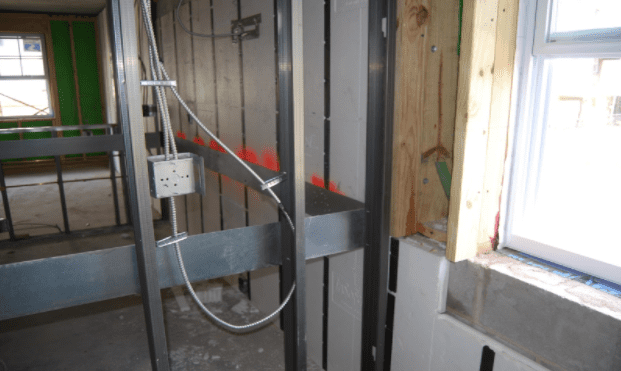
Partition walls can be adhesively or mechanically (screwed) to the InSoFast panels stud.
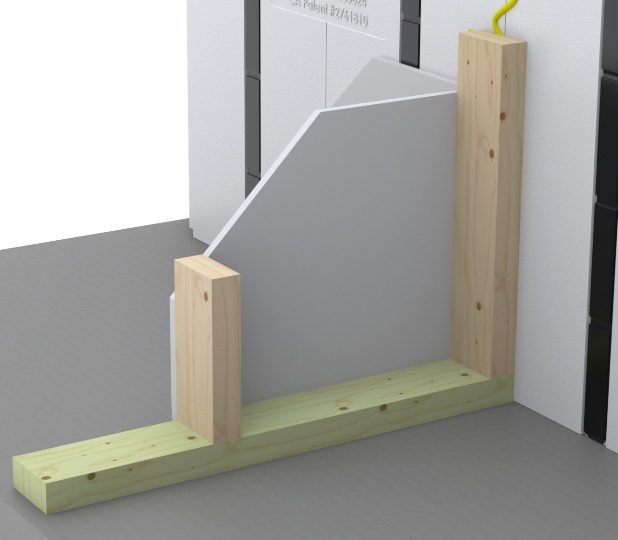
Attaching a stud wall to the concrete base wall through the InSoFast panel with a long TAPCON Fastener.
Taping and finishing the drywall, trim and hanging a big screen TV
Mounting heavy items, such as cabinets, shelving, or a mounting bracket for a flat screen TV, to an InSoFast wall is easy. With a conventional framed wall it is impossible to mount something heavy, like cabinets, between the framing members. With InSoFast panels, heavy objects can be fastened anywhere on the wall. Simply screw to the attachment studs of the InSoFast panel using cabinet screws or fasteners for wood.
Alternatively the drywall is backed solid with the rigid foam of the InSoFast panel, there is no need to locate a “stud” when fastening through the foam directly into the concrete which serves as a continuous solid structural backing behind the entire wall. Use standard concrete screws or anchors of proper size and capacity.
Taping and finishing the drywall and trim to the InSoFast walls.
Attaching the trim using nails.
Our studs are 16” on center that is the most secure way to fasten the trim. A trick that a finish carpenter would use is “X” nailing the trim at a sharp angle in 2 different directions. This way the trim would be held in position by opposing nails.
Attaching the trim using drywall compound as an adhesive.
A plasterer by trade and would prefer the no nail method by using drywall compound to adhere the trim to the wall. That stuff sticks to everything. The bonus with this method it eliminates the need for caulking and filling the nail holes with wood putty.
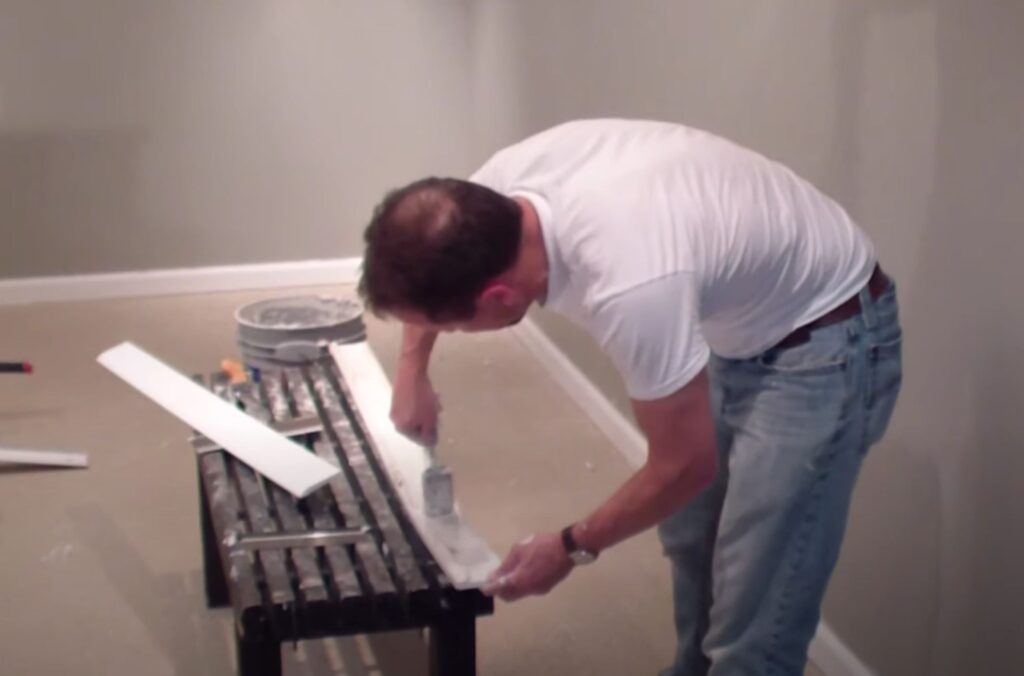
Apply of 1/2″ bead of drywall compound to the backside of the PVC trim.
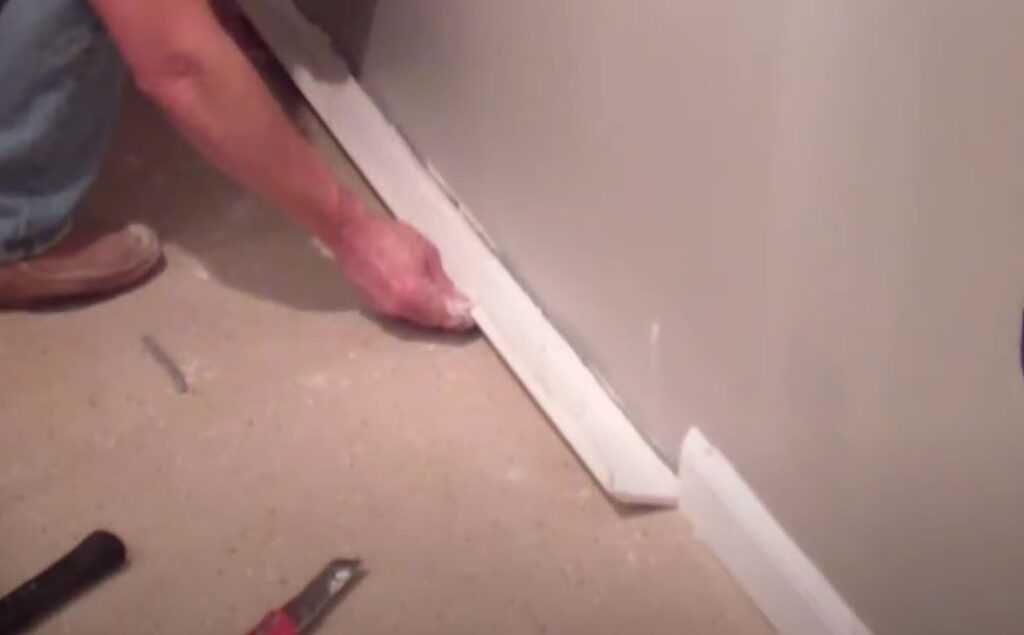
Roll the trim up and into place gently squeeze out the extra drywall compound.
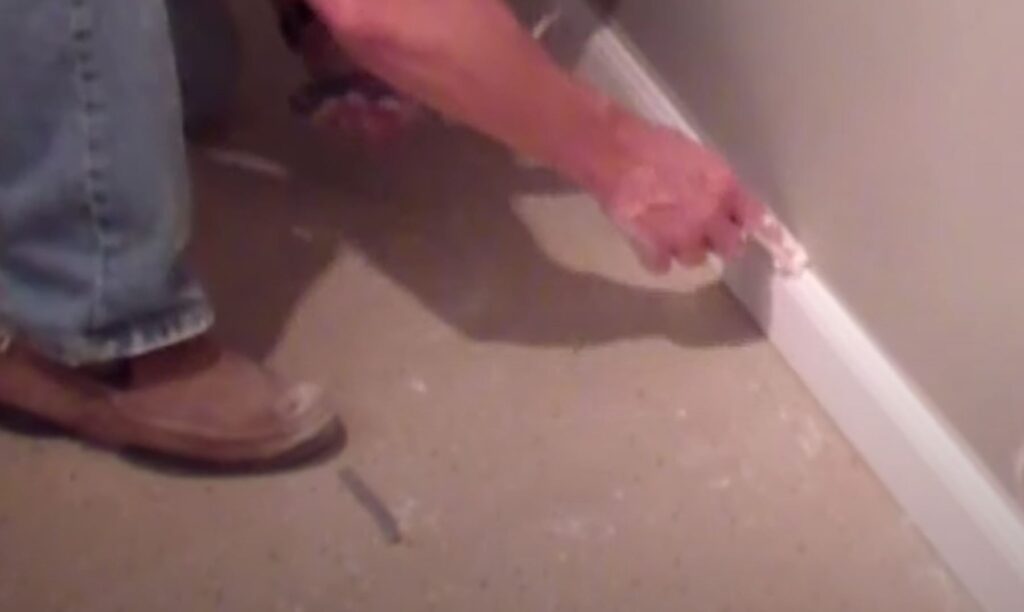
Tool off excess compound with your finger let the compound cure then with a damp sponge wipe off , then let it dry before painting.