
Interior and Exterior Fasteners
| Install | Order | Quote |
Cement Board Fasteners
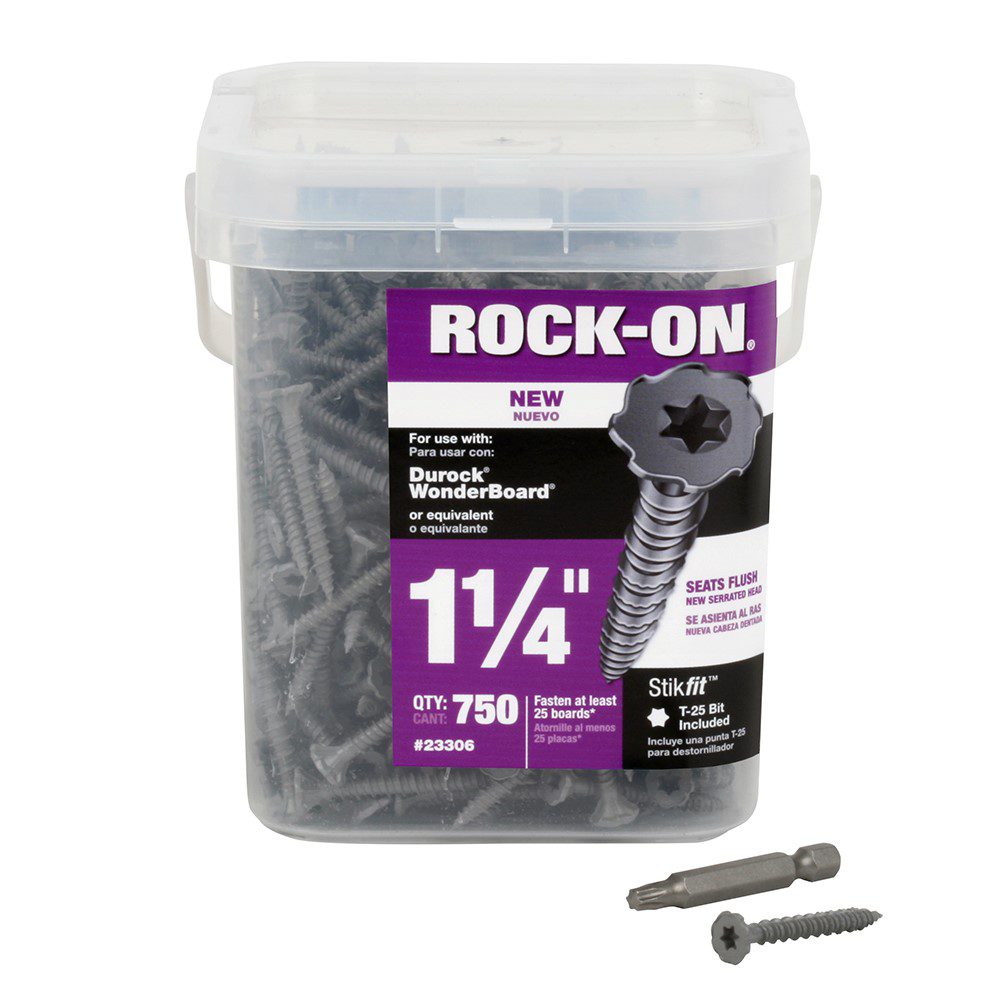
Attaching Cement board to InSoFast use a better quality fasteners that have cutting ribs underneath the bugle fastener’s head.

These fasteners are designed to core out the top surface of the cement board and sit flush with the top surface.
Available Sizes

Rock-On Screws provide the optimal fastening solution for installing fiberglass reinforced cement boards to wood and steel framing. Rock-On Cement Board Screws conform to ANSI A108.11 Standards for cement board installation.
Concrete Fasteners
Mechanical attachment may be the primary method for securing the InSoFast panels to the wall surface if the concrete conditions do not allow adhesive usage. Use Tapcon® screws or Perma-grip nails in the center recessed attachment point on each stud, for a total of three screws per panel for interior drywall applications. Adhered stone applications require six screws per panel.
A mechanical fastener may be necessary if you forgot to apply adhesive to a stud or not enough adhesive was applied. Use a mechanical fastener where necessary to secure the panel to the wall. Use any of the nine recessed attachment points located on the face of the attachment studs.
ORIGINAL TAPCON MASONRY FASTENING SYSTEM
Product Specifications
Diameter 3/16” and 1/4”
Thread Form Original notched Hi-Lo®
| Part Number | Description Fastener Size | Drill Bit Dimensions | Part Number (drill bit) | InSoFast Panel thickness | |
|
PFH (phillips flat head) |
HWH (hex washer head) |
thick x long | Tapcon able to fasten material 1-3/4″ – 2-1/4″thick. | ||
| 3177407 | 3147407 | 3/16 x 3-1/4″ | 5/32 x 5-1/2″ | 3097910 | UX2.0 – EX2.5 |
| 3191407 | 3161407 | 1/4 x 3-1/4″ | 3/16 x 5-1/2″ | 3100910 | UX2.0 – EX2.5 |
| Tapcon able to fasten material 2-1/4″ – 2-3/4″ thick. | |||||
| 3179407 | 3149407 | 3/16 x 3-3/4″ | 5/32 x 5-1/2″ | 3097910 | UX2.0 – EX2.5 |
| 3193407 | 3163407 | 1/4 x 3-3/4″ | 3/16 x 5-1/2″ | 3100910 | UX2.0 – EX2.5 |
The minimum embedment requirement for concrete or concrete/cinder block is 1″ and the maximum embedment is 1-3/4″. Either length fastener will work to fasten our 2″ thick stud to concrete.
CONDRIVE 500 GUIDELINES:
-
STEP 1:
Place drill adapter into 3/8” or 1/2” chuck of standard hammer drill. Place drill bit in drill adapter and tighten set screw. Drill hole a minimum of 1/4” deeper than Tapcon anchor is to be embedded.
-
STEP 2:
Phillips Heads may be installed using either side of sleeve. To install a 1/4 diameter Hex Washer Head Tapcon, use large opening side of sleeve (see sleeve label). To install a 3/16 diameter Hex Washer Head Tapcon, use small opening side of sleeve (see sleeve label). Slide opposite side of sleeve over drill bit and snap onto drill bit adapter.
NOTE: If driving Hex Washer Head Tapcon, driver will automatically disengage. If driving Phillips Head Tapcon, care must be taken to ensure anchor is not overdriven.
-
STEP 3:
Loosen set screw on side of drill adapter with 1/8” Hex Key. Do not remove completely. Replace old drill bit with new one. Align flat side with set screw and tighten screw. Do not overtighten
Combined Adhesive Attachment
For adhered applications using PL Premium adhesive on walls that are subject to peeling or flaking paint, it is important to supplement the installation of InSoFast panels with mechanical fasteners such as Tapcon® screws or Perma‐Grip nails.
- Remember to wait at least 24 hours for PL Premium Adhesive to cure before using fasteners in your wall. Install a row of mechanical fasteners between 6”and 18” from the ceiling at 48”-O.C. utilizing the recessed attachment points that are molded into the InSoFast studs.
- Install additional row(s) of mechanical fasteners at 48”-O.C. spacing as needed to keep a maximum of 48”-O.C. spacing between rows of fasteners.
- At the bottom of the wall, install a row of mechanical fasteners between 6”and 18” up from the floor at 48” on center.


