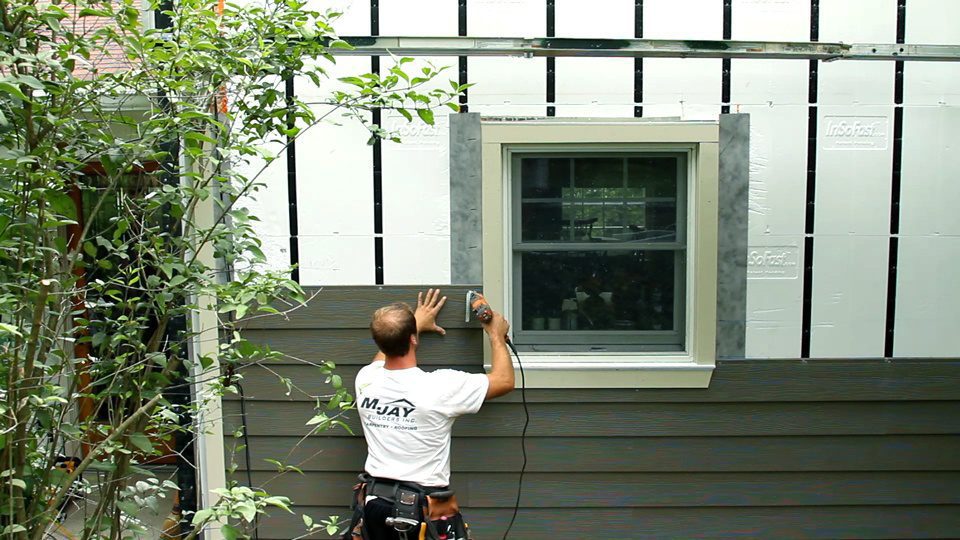
The InSoFast EX 2.5 & MAX 3.75 Panel are optimized for exterior usage.
If you choose to use the InSoFast PLUS method with additional sheet foam or the UX 2.0 panel, please note that drawings, instructions and images referenced by this guide and in several other locations across this website will likely assume the use of EX 2.5 panels and refer to its 2½” thickness.
Printable Exterior Guides & Literature
Basic Installation Procedure
Orientation of Panels
The word “InSoFast” must face outward toward the installer with the exposed ribbed side of the studs going against the wall or sheathing. No black strips will be visible.
InSoFast panels are installed with the 4’ width dimension running horizontally. The 2’ height dimension, studs and moisture control channels all runs vertically.
The top edge of the panel features the interlocking tongue and the bottom edge features the interlocking groove.
Bottom of the Wall
Snap a straight line for the starter track or flashing at the bottom of the wall so that the bottom of the InSoFast panel is not exposed.
See also:
- Warehouse Bay (warehousebay.com) > Starter Track w/ Drip Edge
- Resources> Specs & Details > Exterior Wall Details, Wall Sections (PDF)
Running Bond Pattern
For long walls, installation can be expedited by starting at a centered position with a full panel and working outward in both directions
Stagger panels on the second and subsequent rows to form a running bond interlock pattern.
When cutting panels for corners, openings and penetrations, leave a ¼” gap to fill with foam sealant.
For easier installation, do not install the upper row of fasteners in the InSoFast panel until the panel above has been set in place
Top of the Wall
Prior to installing the top row of InSoFast panels, apply a continuous bead of sealant to the sheathing at the top plate line of the wall.
See also:


