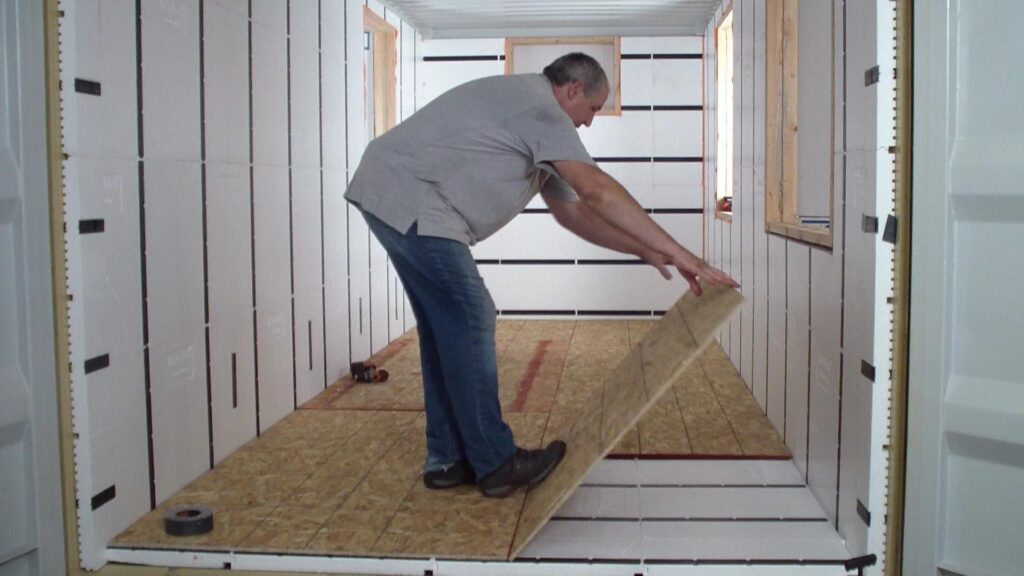
Why you should install panels on the floor.
Insulating a shipping container floor with the InSoFast flat panels increases your thermal performance with the application of our continuous insulation panels. Steel is a super conductor of thermal energy and in a container delivers a U-Value thermal penalty of .109 when you just insulate between the flooring beams @ 12″ on center. What that means if you place R-19 insulation between the beams your effective R-Value, reads like this, (1 ÷ 0.0109 = R-Value of 9.17) Adding the UX 2.0 or EX 2.5 flat panel Will double your performance to an R-Value of 20.
Choose the FP-2.0 or FP-2.5 Panels
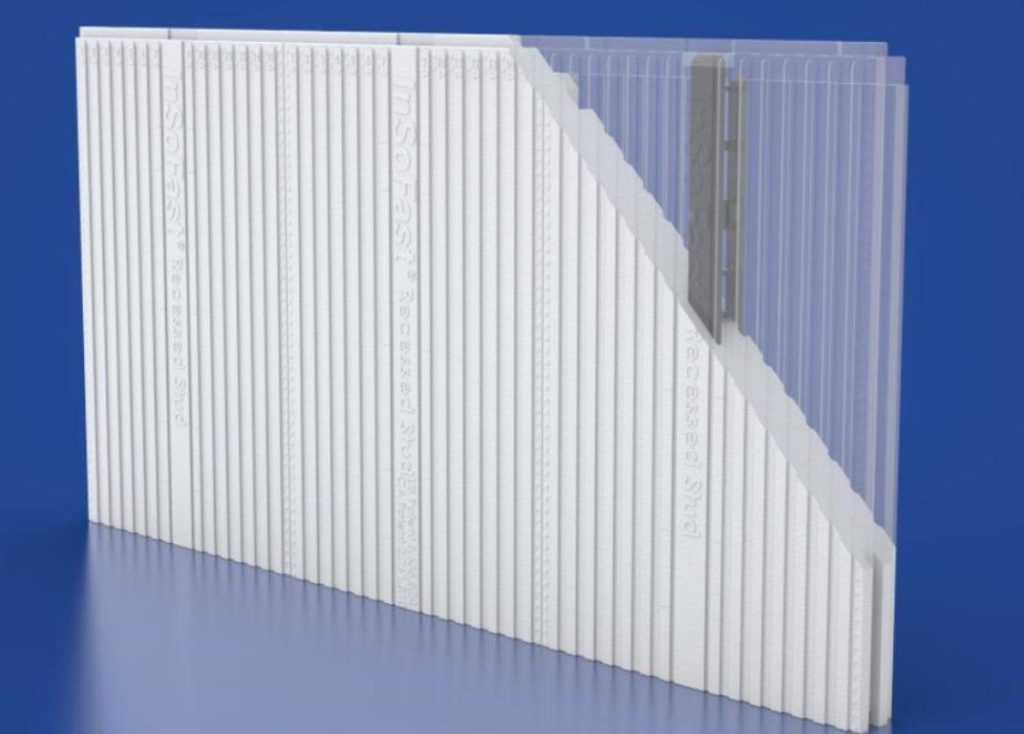
FP-2.0
2″ thick of closed-cell, injection-molded EPS foam body achieves R-8.5 insulation The FP-2.0 is our thinnest profile panel, optimized for flat surface interior finishing. The FP-2.0 will work on floors, walls, ceiling and can be adapted for shipping container construction or other unique applications. It is a good choice as a base panel for the InSoFast PLUS when higher R-Value is needed.
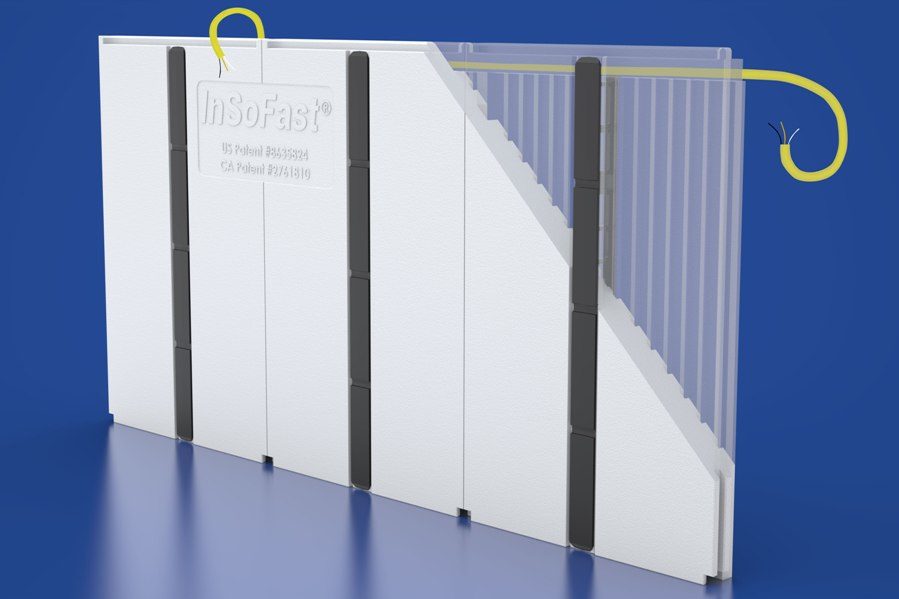
FP-2.5
2 1/2″ thick of closed-cell, injection-molded EPS foam body achieves R-10 insulation. The FP-2.5 is optimized for interior finishing. The panel will work on floors, walls, ceiling and can be adapted for shipping container construction or other unique applications. It is a good choice as a base panel for the InSoFast PLUS when higher R-Value is needed.
The floating method
The floating method, we demonstrate here is (not glued down) is recommended for carpet, laminate, and wood floors. This is a simpler, quicker installation that makes the container floor feel softer and more comfortable. The screw down method can be used for any flooring type. An alternative is to bond the panels in
place with a 3/8″ bead of adhesive along dove-tailed ribbing of each stud. The fully adhered method is recommended for tiled area to create a solid base that eliminates movement.
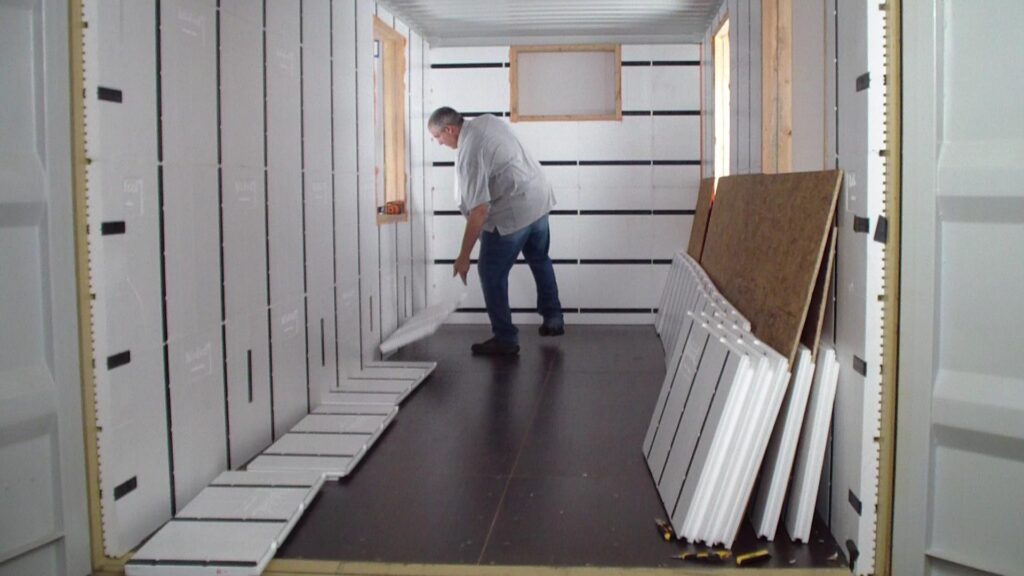
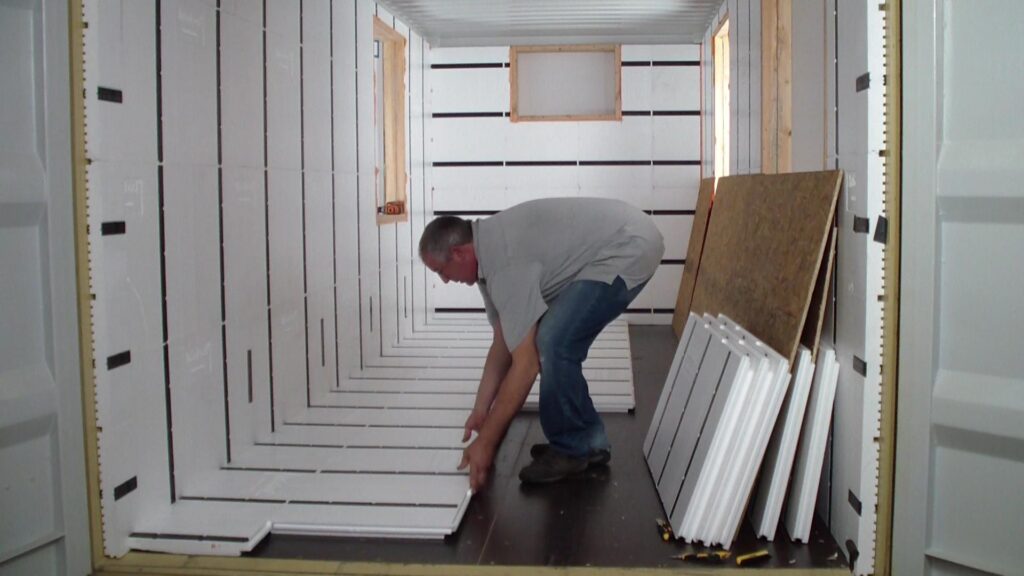
The floating method places the panels directly on the shipping container floor without any adhesive. Interlock the panels together with the tongue and grooved edges in a running bond or staggered pattern.
Install Subflooring on the panels
Install Subflooring with a gap for expansion following per manufacturer’s instructions. Fasten with standard coarse thread all-purpose construction screws. When panels are installed as a floating floor, it is important to layout the subflooring so that the long seam of the plywood does not line up with the seams in the InSoFast panels. The short seams of the plywood should land over the top of a stud.
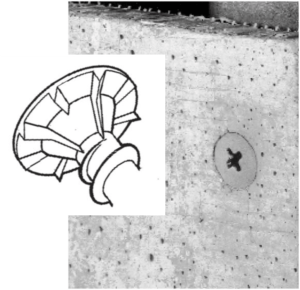
Heavier subfloor panels like 3/4″ plywood you may need to predrill a countersink hole. A pilot hole to allow for the screw to be countersunk a flat-head screw to seat flush with the work surface.
Alternatively higher quality specialty fasteners for cement board applications can also be used saving a labor step when countersinking screws into the InSoFast stud.


When panels are installed as a floating floor, it is important to layout the subflooring so that the long seam of the plywood does not line up with the seams in the InSoFast panels. The short seams of the plywood should land over the top of a stud.
Calculating Floor Loads
You will need to determine what loading (weight per square foot) is acceptable for your local building codes.
For the most part, live load and dead load values for floor systems are considered “distributed loads.” The total weight is distributed or shared uniformly by the members in the floor system. InSoFast panels are uniform because they have 100% contact with the concrete and subflooring.
Our product testing determined that InSoFast panels can support 13 lbs per square inch of compressive resistance at 10% strain deformation. This equates to 1872 lbs per square foot for the design load, well within most residential construction specifications.
Table 3.4 is taken from the U.S. Department of Housing and Urban Development Office of Policy Development and Research’s


