How to handle Inside and Outside Corners
First we will start with a basic description.
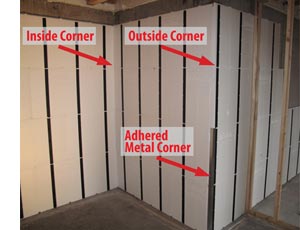

Outside Corners
Corners that protrude into a room
These corners need a metal corner bead attached to them. If necessary, mark and cut the first panel flush with the corner. You will use the cut off piece, or a new panel, to wrap around the other side of the corner.Install the first panel flush with the corner edge of the concrete wall making sure to place a solid-backing bead of adhesive near the edge of the cut. On the cut-off piece or second panel run two beads of adhesive. The first bead, running approximately 1″ from the edge, will bond the foam of the InSoFast panels together at the corner. The second bead, running approximately 3″ from the edge of the panel, will bond the foam of the InSoFast panel to the concrete.

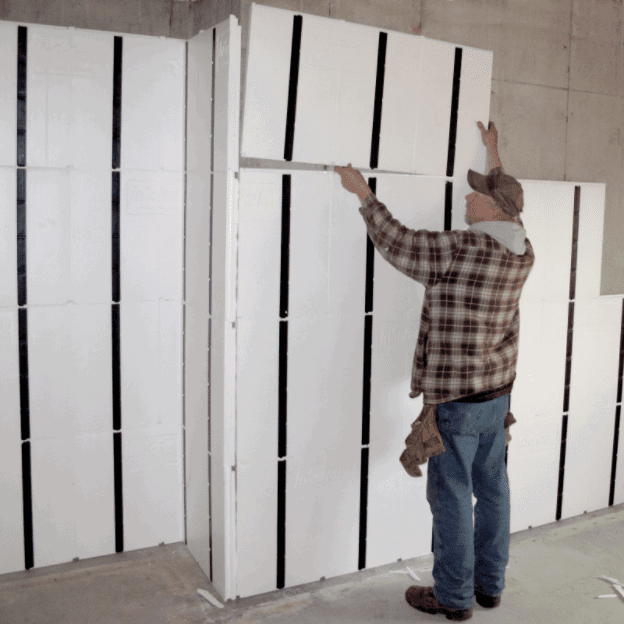
Start an InSoFast project in an inside corner
Start an InSoFast project in an inside corner.

Turning Corners cutting and gluing panels. Cut the panels a 1/4″ less than the actual measurement, this will relieve any pressure in the corner that my force panels to pop out.
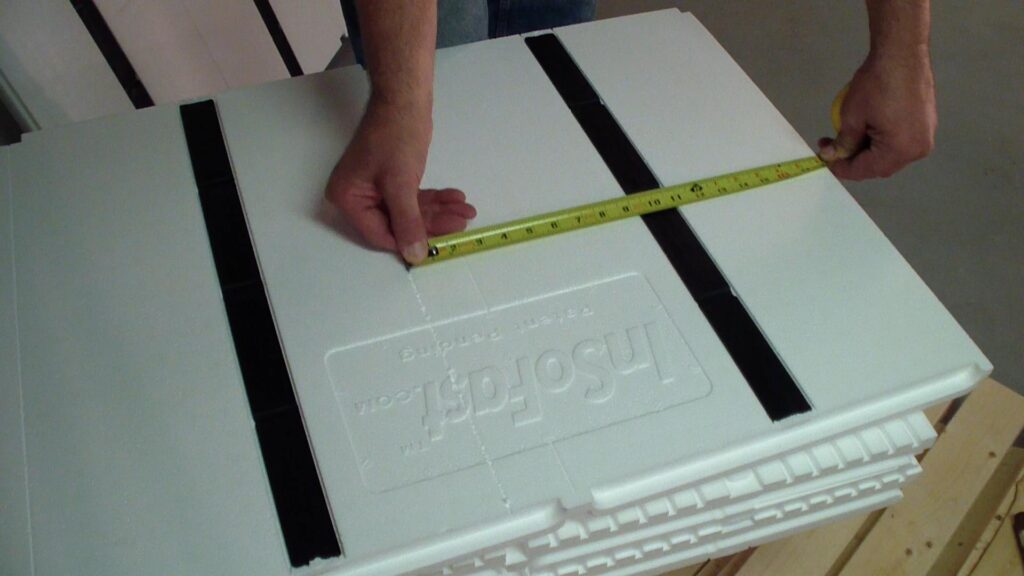
Scribing the measurement onto the panel for easy cutting.
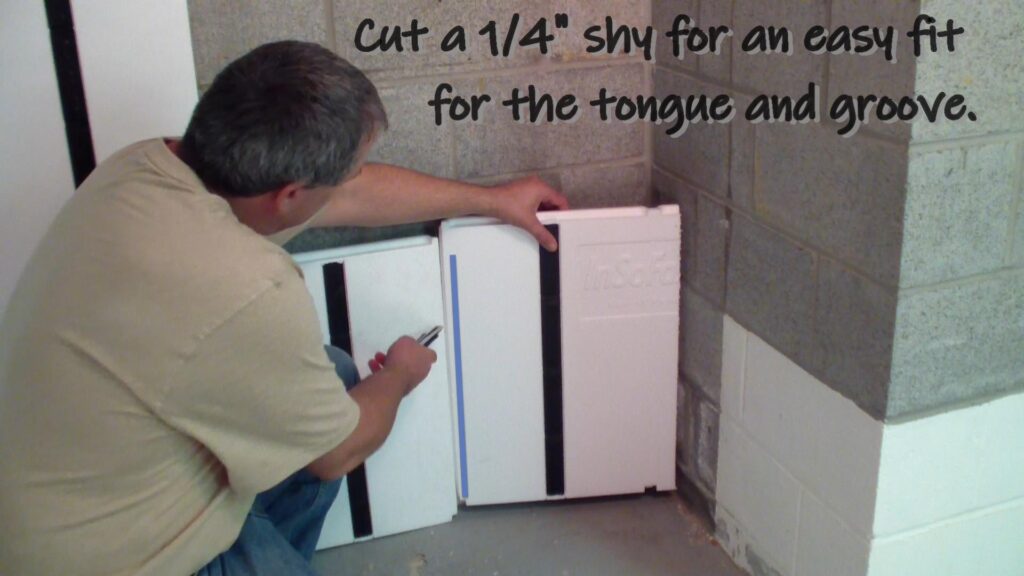
Cutting the panel a 1/4″ shy will also allow for an easy fit for the tongue and groove of the panels edges. Some basement applications of poured in place concrete have rounded corners, trim the panel’s edge to keep the panel flat and tight to the wall.
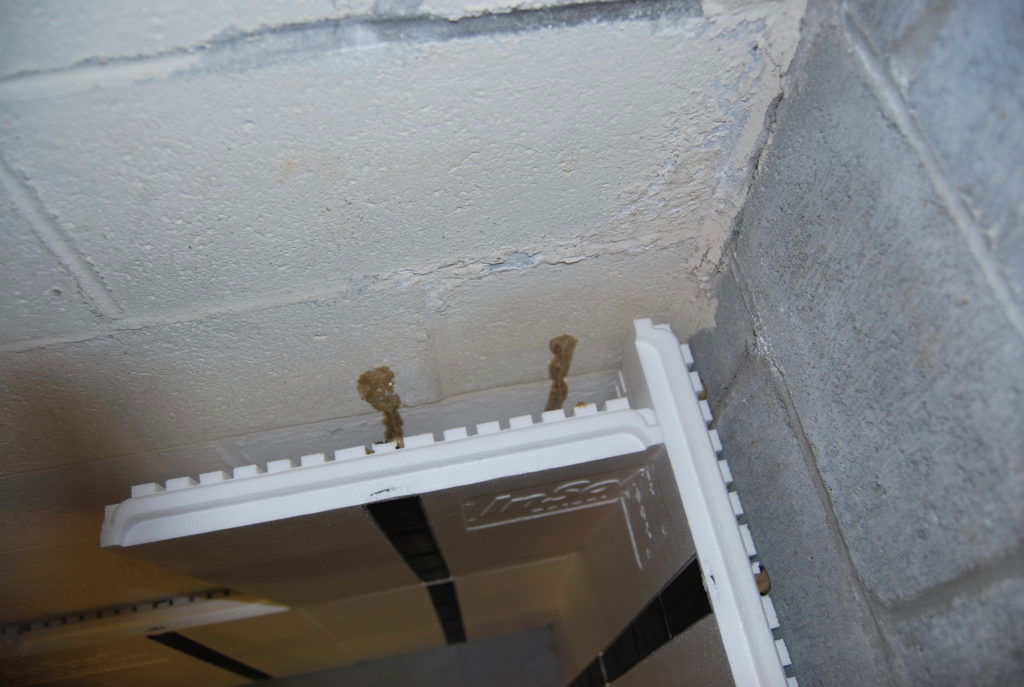
Add a bead of adhesive to the cut edge of the panel to secure the outside edge to the wall.
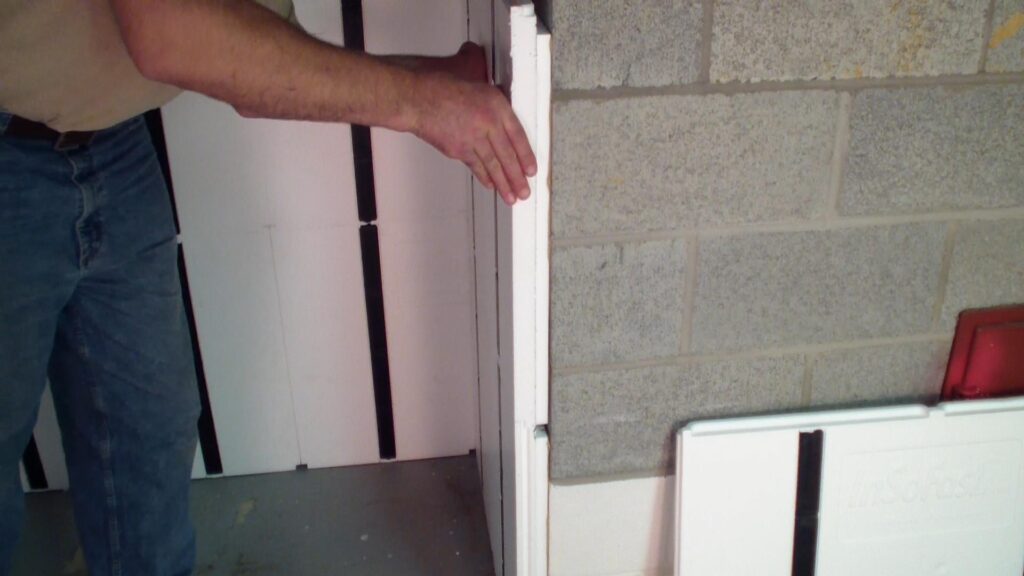
Install the first panel flush with the corner edge of the concrete wall making sure to place a solid-backing bead of adhesive near the edge of the cut. On the cut-off piece or second panel run two beads of adhesive. The first bead, running approximately 1″ from the edge, will bond the foam of the InSoFast panels together at the corner.
Turning the corner, the next panel should fit snug against the first panel. The second bead, running approximately 3″ from the edge of the panel, will bond the foam of the InSoFast panel to the concrete. Securing drywall to a foam corner.
Important: some steps of this process will involve applying adhesive directly to a panel’s foam surface. We strongly recommend using PL Premium 3X Stronger Construction Adhesive for this purpose. This glue has been tested to work with the EPS foam.
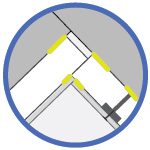
Outside corners and metal angles
Utility angle or light gauge metal “L” angle taped in place until the adhesive sets.

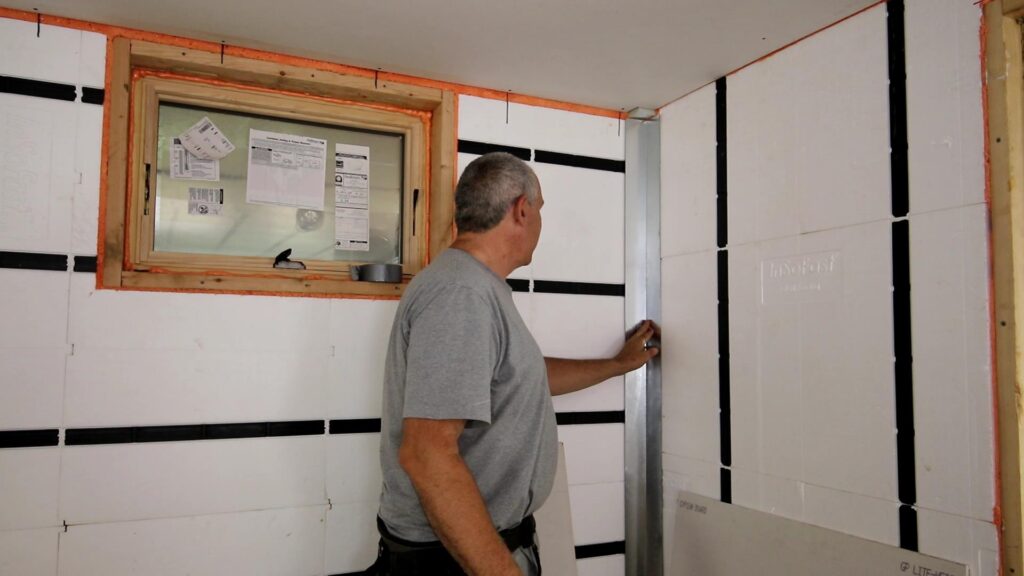
The metal angle is used if attachment in the solidly backed corner is desired. The metal angle screwed together forms a solid corner it will work for both the inside and outside corner.
Related Documents
- Use a metal corner angle (3″ x 3″, 25ga sheet metal) to wrap outside corners. Generally available in the roofing/flashing section of home improvement stores or drywall supply yards.
- Place a bead of adhesive approximately 1-2″ from each side of the corner. Press 25 ga. sheet metal angle into adhesive.
- Sheet Metal Corner Angles for Drywall (PDF, 206kb)
- Installing Outside Corner Angles over InSoFast (PDF, 45kb)
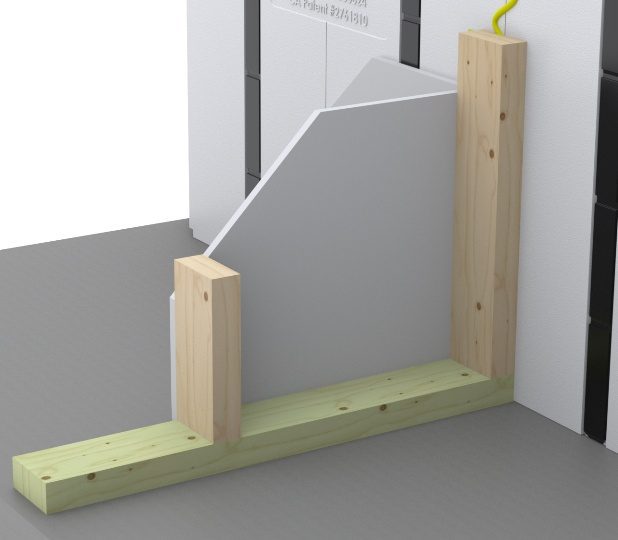
Attaching stem or partition walls and corner attachments
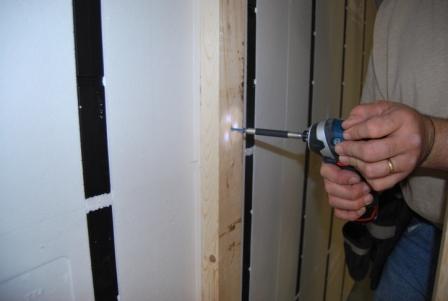
Attaching stem or partition walls and corner attachments.
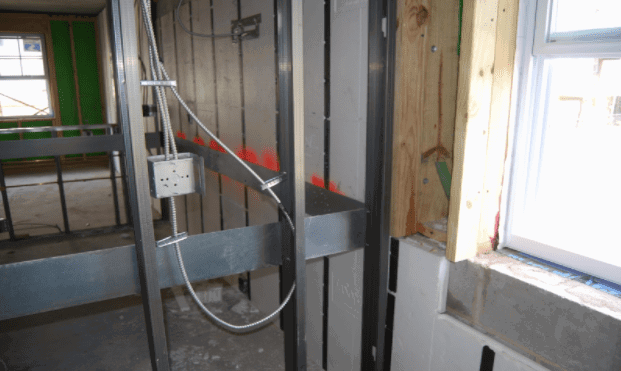
Partition walls can be mechanically (screwed) to the panel’s stud or adhesively attached to the foam.
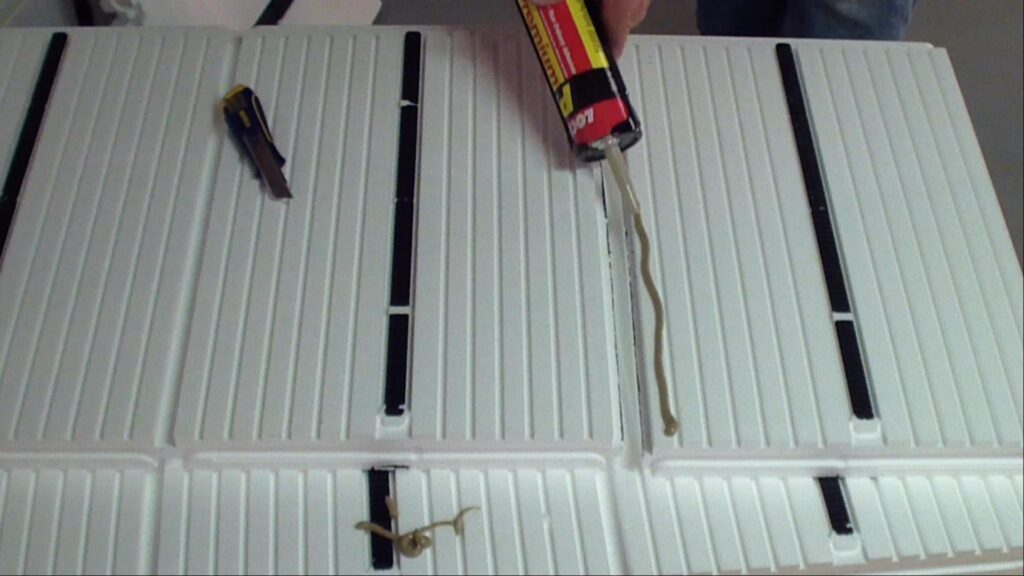
How to glue corners with Loctite adhesive
Gluing The Panels
When starting a panel or going around corners or opening we recommend that you add additional adhesive on the edges of the panels. This will secure the panel edges and give you a tighter finished wall. Add an extra bead of glue 1/2″ back from edge of the panel around all corners and openings like windows and doors. Keeping the glue 1/2″ back keeps it off your hands and from oozing out around the edges.
Calculate the number of tubes necessary for your project (adhesive coverage may vary):
- 1 large 28-fl oz / 828 mL tube = 6 InSoFast Panels or
- 1 large 28-fl oz / 828 mL tube = 48-sq ft of wall area
- We recommend that you estimate approximately 10% waste or 1 tubes of the adhesive = 50 Square feet of wall.
| Square Feet | InSoFast Boxes | PL 3x |
| 800′ | 20 | 16 |
| 1200′ | 30 | 24 |
| 2000′ | 50 | 40 |
| 3600′ | 90 | 72 |
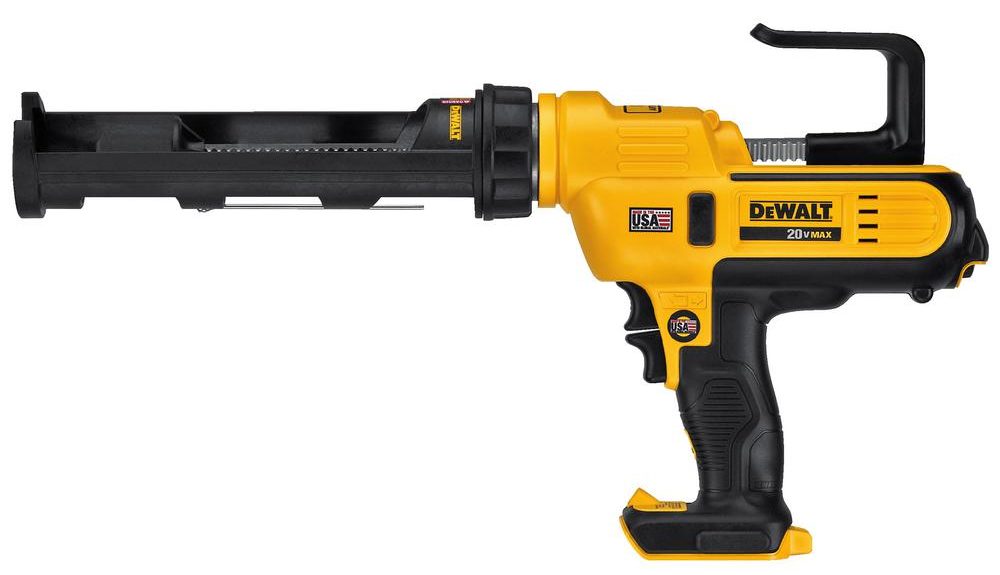
When purchasing the adhesive for your project, we recommend using the larger 28-fl oz / 828 ml tubes and a caulk gun to match in size. For larger projects, get a higher-quality caulk gun that’ll be easier to operate and give you more control with the flow of adhesive. You’ll thank yourself later. Quality guns usually have a built-in tip cutter and seal puncture tool.
Estimating adhesive has variables beyond our control, the condition of the wall, and how accurate the tradesmen is with a glue gun? The adhesive manufacturer’s technical sheet states, “A 3/8” (9.5 mm) bead extrudes approximately 38 ft. (12 m).“
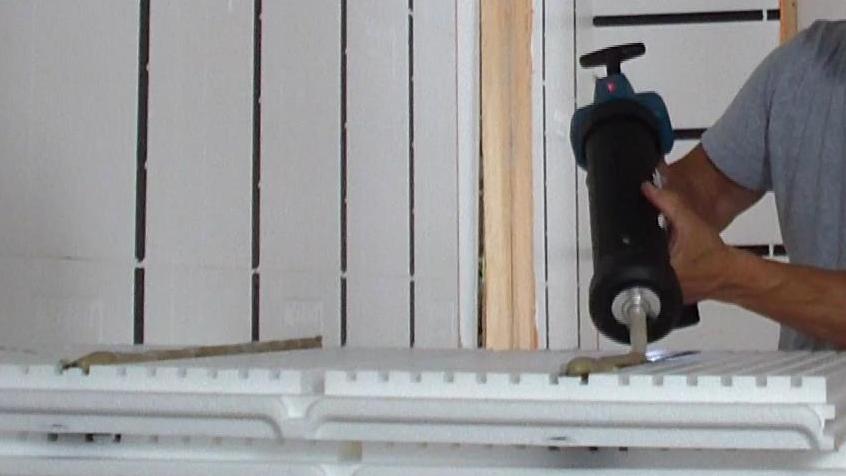
To verify that enough adhesive is used, press the panel into place. Pull the panel back and check to see if the adhesive has spread out beyond the full width of the stud. It is normal for the panel to “float out” from the side of the wall when it is accommodating irregularities the adhesive will bridge gaps up to 3/8″. Additional adhesive may be necessary in some areas.