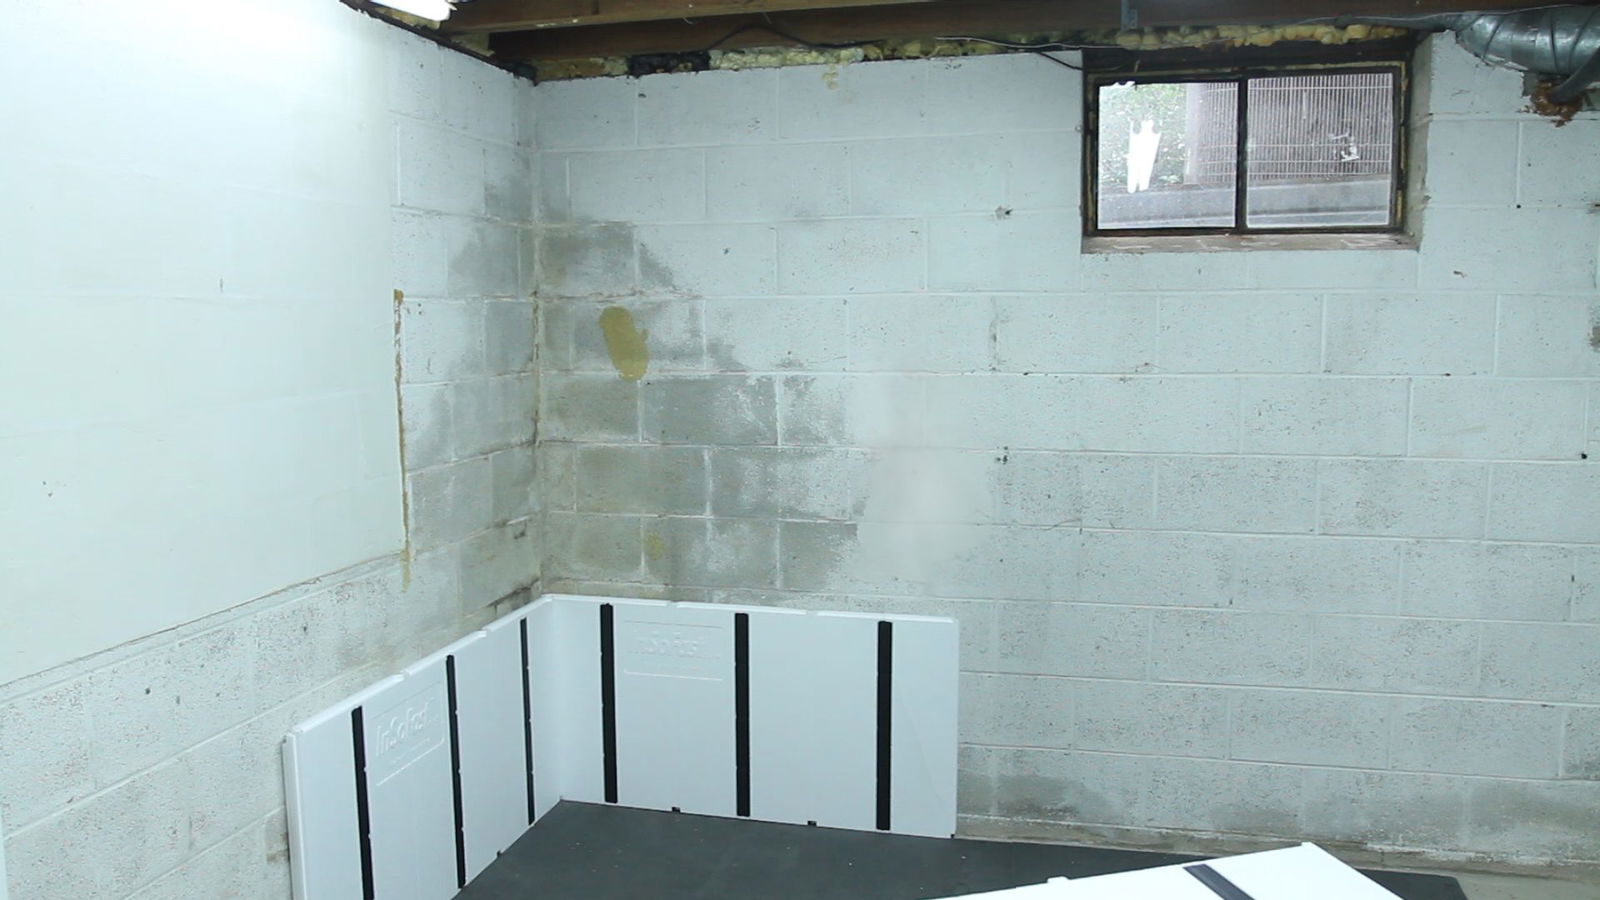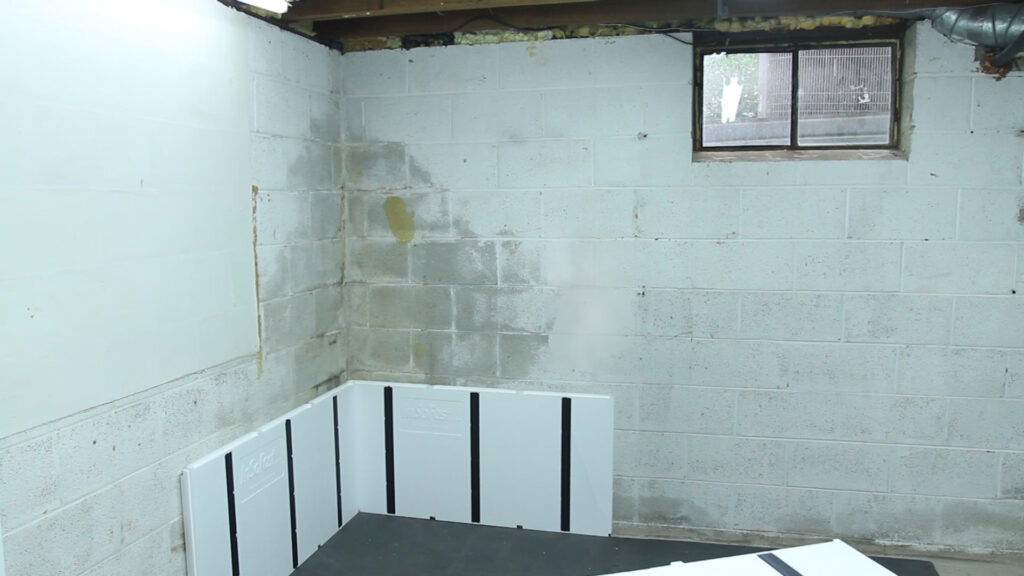

Starting interlock with the InSoFast panels.
Creating an Interlock Pattern
| Install | Order | Quote |
Starting in a Corner
We recommend starting your installation with a full panel in the bottom corner of your wall. This not only makes it easier to set up an even alignment, it also gives you the option of working in two directions along your walls. After the first panel is set in place, continue adding consecutive panels side-by-side until the row is complete.

Starting interlock with the InSoFast panels.
Creating an Interlock Pattern
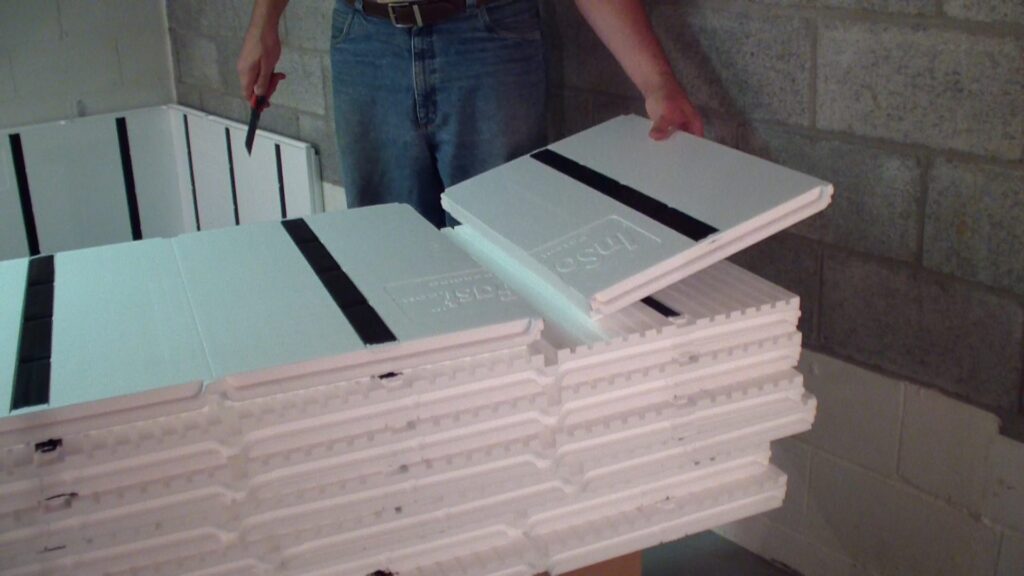
The interlock pattern uses the same concept as brick-laying. By offsetting the edges of each row of panels, you’ll create a structurally locked wall that bolsters the InSoFast panels’ ability to self-level.
- After placing the first row of panels, use a knife or saw to cut a new panel along the demarcated channel line into a 16“ and 32” section.

Dry stack the panels to assure proper fit before you glue.
- To create the second row, attach the freshly cut 32” section in the corner you started directly above the first full panel. Eliminate waste by using the remaining 16“ section to start the second row of the adjacent wall.
- Continue adding panels along the second row until complete. You can repeat the same process of staggering cut and uncut panels for each new row.
Dry-stacking for a Faster Workflow
We encourage a process called dry-stacking which speeds up the workflow when it comes time to glue panels. Essentially, you perform a mock set-up of your InSoFast walls by stacking the panels without any adhesive or finished mechanical attachment. You can troubleshoot all of the more complicated steps such as cutting panels to fit around pipes and windows and then arrange them in the order they need to be installed later.

