
Determine the Condition of Your Walls
There are several steps you must address and plan before you start stacking your InSoFast panels. Think of it as a game plan, charted specifically for your project space. To make the process easier to jump-start, we’ve mapped out all the Project Prep Steps you need to tackle:

| Install | Order | Quote |
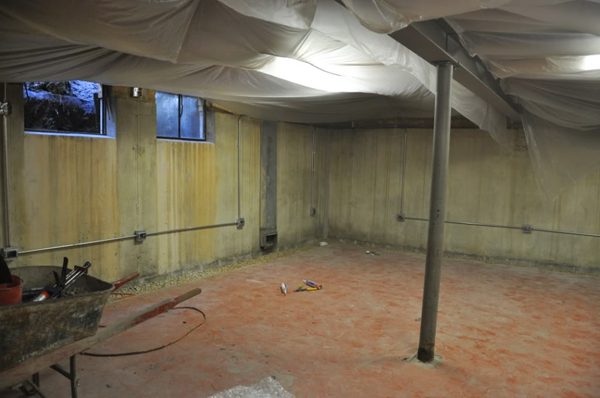
Make a “map” of your space by taking note of any wall protrusions, pipes, windows, etc. You’ll need to cut the panels accordingly. The video below shows a quick demonstration of the dry stacking method which helps to determine the layout and cuts of panels before they are adhered to the wall. If it’s possible to remove any of these obstacles, do it. It will make your job easier in the long run.
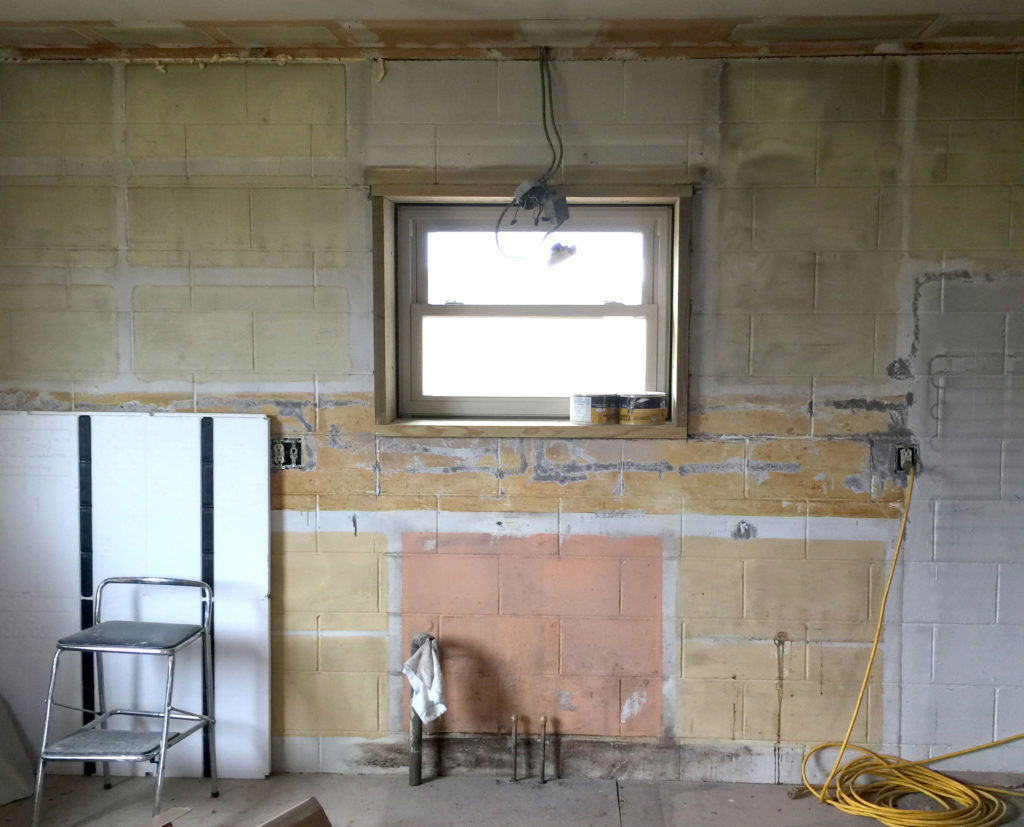
1. Prepare Windows, Doors, and Openings
In order to prepare the windows and doors for your InSoFast project, you will need to frame any openings with wood or metal furring that meets the thickness of the InSoFast panels. This step is easier to accomplish with EX 2.5 (2½”) panels because they are the same thickness as standard 2×3 lumber. Framing openings for UX 2.0 (2″) panels may require additional work.
You also need to make sure the framing is at least 2″ wide for attachment purposes. You can use pressure-treated lumber, western cedar, or cellular PVC for the material. This framing will ensure an even attachment point for things like drywall in case the InSoFast’s embedded stud does not perfectly meet the edge.
To attach the furring to concrete, you can use the same methods you’ve selected for the InSoFast panels. To keep it simple use PL Premium adhesive. We also recommend Tapcon concrete screws or Perma-Grip nails.
2. Plan the Electric

Electrical wiring chases are one of the many features built into the InSoFast panel. They run vertically at 16″ on center and horizontally at 24″ on center in the panels. This grid-work provides easy access to pull the wiring to any location. The chases also address the necessary separation from the drywall that’s required by electrical code.
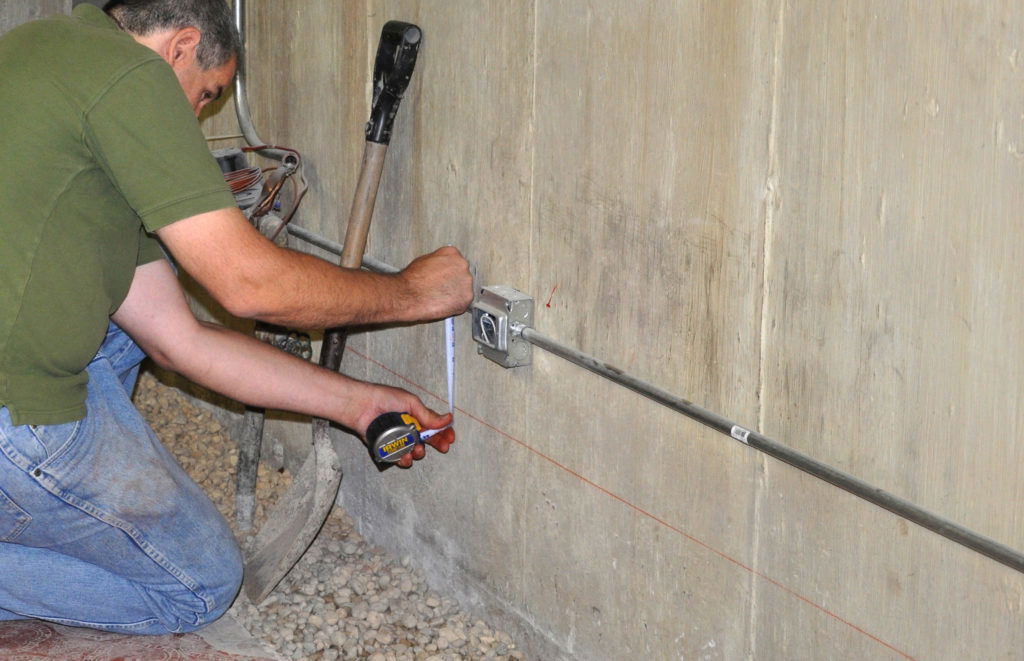
Before you start your project you should plan out how you intend to run the electrical wiring. Use the built-in wiring chases as a guideline. If there is pre-existing electric running along your walls that does not match up with the InSoFast chases, you have a few options:
- Measure the distance of your channels to the floors and corners. Cut the first row of panels to adjust for this distance so that the built-in channels will line up.
- Carve a custom groove into the panels to add the necessary space for the wiring.
- Re-run your electric to follow the channels.
Some projects may require the consultation of a certified electrician.
3.Decide what attachment method to use.
Loctite PL Premium’s 3X Stronger Adhesive is tested and approved for use with InSoFast panels.
It is designed to cure 3 times stronger than the average construction adhesive without shrinking. Additionally, it is not a solvent-based chemical. This means it won’t melt the foam and can be used in insufficiently ventilated spaces like basements.


In order for Loctite to “lock tight,” you must prep your walls. This means removing any dirt, debris, loose paint or anything else that may disrupt a wall’s surface. Cleaning the walls also helps prevent future mold and mildew issues.
Mold grows on concrete because of the organic components like dirt and dust that stick to it. You can protect against these issues and ensure a strong adhesive bond by thoroughly scrubbing your walls with a masonry cleaner such as Trisodium Phosphate (TSP) mixed in warm water. If you are still unsure about your wall conditions after cleaning you can try an adhesive test (See Step 4 of this guide).
4. Adhesive Tests
A wall must be structurally sound before installing InSoFast (or anything for that matter), so you’ll need to check their levelness or plumb. InSoFast panels can cover the worst of walls and their interlocking design helps self-level to an extent. You need to survey your walls and decide if you have the skills necessary to tackle any advanced techniques that may be required.
For more information on this topic, check out our Shimming Uneven Walls help page and the downloadable Uneven Walls technical guide.
It’s generally a good idea to perform an adhesive test if you are unsure about the conditions of your walls. Start the test by spreading a bead of Loctite PL Premium 3X Stronger adhesive onto a 6” long scrap of 2×4 wood or a sample InSoFast stud. Press the “test block” against the wall with one end resting on the floor. This helps to keep it from sliding down and falling off the wall.
Support it in place if necessary. You’ll need to wait 24-48 hours for the adhesive to cure, but always remember that PL Premium takes 14 days to reach its full strength.
When the curing time has passed you are ready to test the strength of the bond! Try to pry the test board off the wall. If you can manage to pull it off with your hands, you will need to mechanically fasten the panels to the wall.
You can either use 3” mechanical fasteners by themselves or in addition to the adhesive. Our President and inventor recently noted that, “There have been some unnecessary doubts in terms of the adhesives…it’s easy to understand why it would seem unbelievable that an 8-ft stud section could hold 7,000 lbs of straight pull off, but we’ve engineered our product to meet those capabilities.” Believe in the stud!
5. Fix Water Issues
This is your last chance to fix anything before you cover it up. It is always better to keep water out than to try to manage the water inside. InSoFast panels have built-in drainage planes designed to channel water out of a wall system, but it’s important to understand that InSoFast panels are not a substitute for waterproofing.
Before blocking the walls with insulation you also need to correct any water intrusion problems that already exist.
Drylok Extreme Masonry Waterproofer is tested and approved for use with InSoFast Panels.
This smooth waterproof paint is perfect for the most demanding conditions including interior, exterior, above or below grade masonry walls, basement walls and more. It is also specially formulated to resist mildew growth. Another option is Emecole Pene-Seal-Crete which is easy to install and will penetrate up to 3 inches into concrete walls. Learn more about waterproofing on our Waterproofing and Moisture Management Page.
| Install | Order | Quote |

