Dry-Stacking the Panels & Difficult Cuts
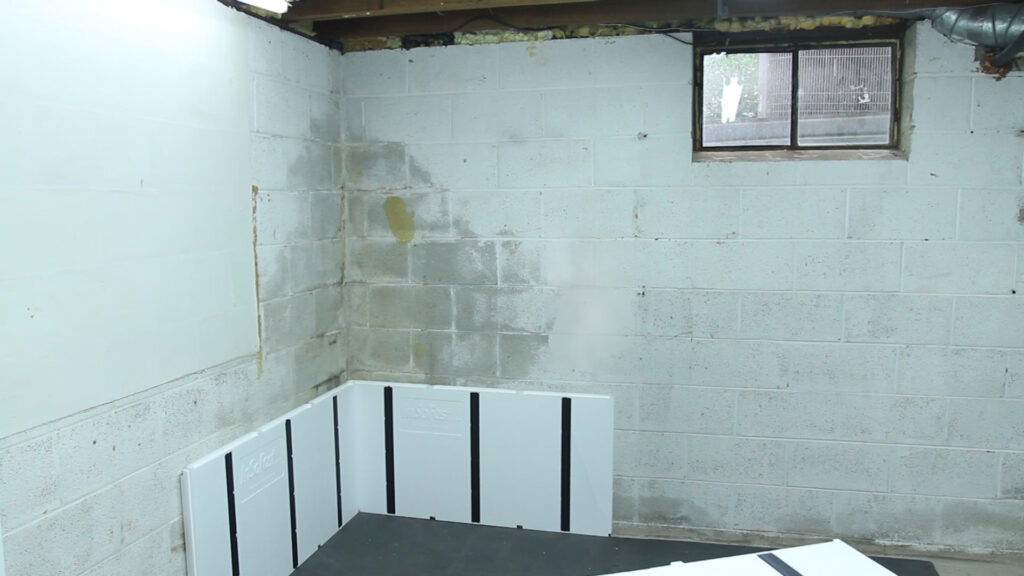
We encourage a process called dry stacking which speeds up the workflow when it comes time to glue panels. Essentially, you perform a mock set-up of your InSoFast walls by stacking the panels without any adhesive or finished mechanical attachment. You can troubleshoot all of the more complicated steps such as cutting panels to fit around pipes and windows and then arrange them in the order they need to be installed later.This will avoid having to cut and adjust panels with glue on them.
We recommend that you stack the panels with what is called a running bond or stagger joint. Here is how.
- Start your installation with a full panel in the bottom corner of your wall. This not only makes it easier to set up an even alignment, it also gives you the option of working in two directions along your walls. After the first panel is set in place, continue adding consecutive panels side-by-side until the row is complete.

Off set or stack bond pattern
- To create the second row, attach the freshly cut 32” section in the corner you started directly above the first full panel. Eliminate waste by using the remaining 16“ section to start the second row of the adjacent wall.
- Continue adding panels along the second row until complete. You can repeat the same process of staggering cut and uncut panels for each new row.
The interlock pattern uses the same concept as brick-laying. By offsetting the edges of each row of panels, you’ll create a structurally locked wall that bolsters the InSoFast panels’ ability to self-level.
Begin by cutting the second row of panels
- After placing the first row of panels, use a knife or saw to cut a new panel along the demarcated channel line into a 16“ and 32” section.
- To create the second row, attach the freshly cut 32” section in the corner you started directly above the first full panel. Eliminate waste by using the remaining 16“ section to start the second row of the adjacent wall.
- Continue adding panels along the second row until complete. You can repeat the same process of staggering cut and uncut panels for each new row.
Install with Speed & Efficiency
After pre-cutting and fitting all the panels with a dry stack, a dry run, (why mess with glue when cutting and fitting panels) to determine the layout, Ed and Dean are ready to adhere the panels to the wall. Watch them do it in less than 10 minutes.
Working Around Openings
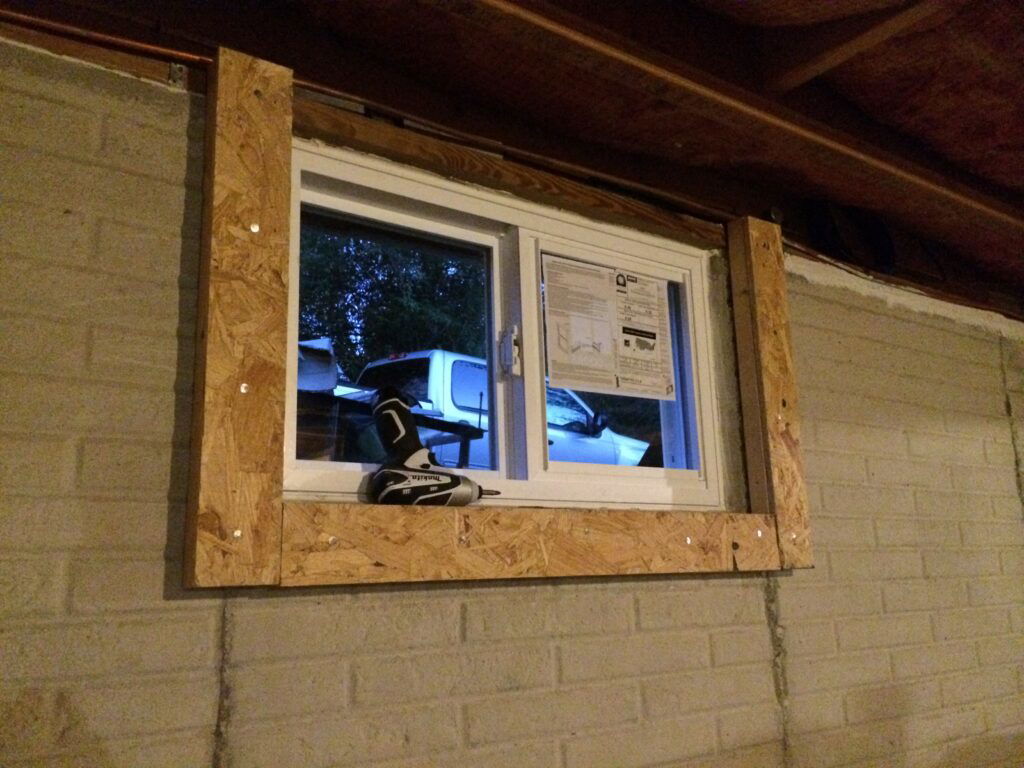
Frame all openings to ensure there is a sturdy attachment surface for drywall or trim in case the InSoFast studs do not perfectly meet the edges.
Framing Materials
You can use pressure-treated lumber, western cedar, or cellular PVC for the framing material. You want to make sure to limit the contact between natural wood and the moisture in concrete. Alternatively an opening like a window or an exterior facing corner a sheet metal utility angle can be used to frame around an opening.
Related Documents
To attach the framing to concrete, you can use the same methods you’ve selected for the InSoFast panels. We recommend Tapcon concrete screws, Perma-Grip nails, or PL Premium adhesive. According to Loctite, the bond strength between pressure-treated lumber and concrete can withstand hundreds of pounds of pull-off and shear loading.

Important: EX 2.5 panels are easier to frame than UX 2.0 panels because they are the same depth as commonly available framing lumber. UX 2.0 panels will require additional advanced carpentry techniques in order to cut the framing to fit. For this reason, we recommend DIYers choose EX 2.5 for their projects. For more information on the benefits of EX 2.5, read 4 Reasons to Choose EX For Your Basement Project.
Installation
Install the framing around windows, doors and openings before adding InSoFast to your walls. Make sure the framing is at least 2″ wide for attachment purposes. The depth should be as deep as the InSoFast panels, in order to run flush across the wall. Depending on the panel used, this application requires 2″ (UX) or 2-½” (EX) framing or furring materials. This can be an uncommon size for such materials and may require extra work.
When running the InSoFast panels, cut as necessary to fit around the frames. To figure out where to cut, place a full panel directly over the framing and press hard so as to leave an indent in the panel. Then cut along the indented line. It is okay to cut the panel ½” shy of being tight as you can fill the gap with spray foam later.

Finishing
Add an extension jamb and trim.
An extension jamb is a piece of wood or framing material that extends from the window past the edge of the framing. It will cover the concrete and can be used as part of the finishing trim around a window. The extension jambs can be glued or nailed to the opening.
Extension jambs should overhang your frame and panels by at least the width of your drywall – minimum ½”
Attach a minimum of ½” drywall to your walls by screwing to the InSoFast studs. Around the edge of windows, doors and openings, screw the drywall to the previously installed frames
See Also
Wood Extension Jamb and Trim (PDF, 26.6kb)
This is a typical option for basement windows where there is no room for a sub jamb. If you have a basement window with very little room for extension jambs, consider using stairway skirt boards. They have a thin profile with a finished edge. This board can be glued directly to the concrete. If you wish to have backing to nail the trim, wrap the entire opening with 2″ wood furring attached directly to the concrete. The InSoFast panels will butt up to the wood furring.
Wood Extension Jamb and Trim with Solid-Backing (PDF, 37.6kb)
This is a great option if you are installing a new egress window, or you have a window with room for a sub jamb as well as an extension jamb. If you do not have room for the sub jamb, fasten 2″ wood furring around the opening directly to the concrete. This will look like a picture frame around the window. Butt the InSoFast panels to the wood furring.
Drywall Return over Wood Framing (PDF, 36.3kb)
Use this option if you want to have a drywall return back to the window. Wrap opening with 2″ or 1″ sub jamb. If you are challenged for room, wrap the entire opening with 2″ wood furring attached directly to the concrete. This provides a nailing surface for the drywall corner bead. The InSoFast panels will butt up to the wood furring. Adhere moisture resistant drywall or cement board to the concrete.
Drywall Return over InSoFast UX Panels (PDF, 37.6kb)
If you have room, you can do insulated returns with the InSoFast panels. Adhere the 3″ galvanized sheet metal angle to the InSoFast panels. This provides easy attachment for drywall and corner bead.


